Being non-intrusive and instantly delivered, web notifications are one of the fast-growing marketing channels, with strong ROI, and used by several businesses. As all web push notifications are an individual’s preference they are always asked for explicit consent. they have an option of unsubscribing from their browser settings. Web Push Notification Opt-In Rate is one of the important push notification metrics. So, if you collect more subscribers you can implement web push strategies and use it effectively to re-engage your subscribers. However, you should also plan the strategy to reduce push subscriber unsubscribe rate.
Here Are 7 Ways To Increase Your Web Push Subscription Rate:
Use Push Single Step Opt-in
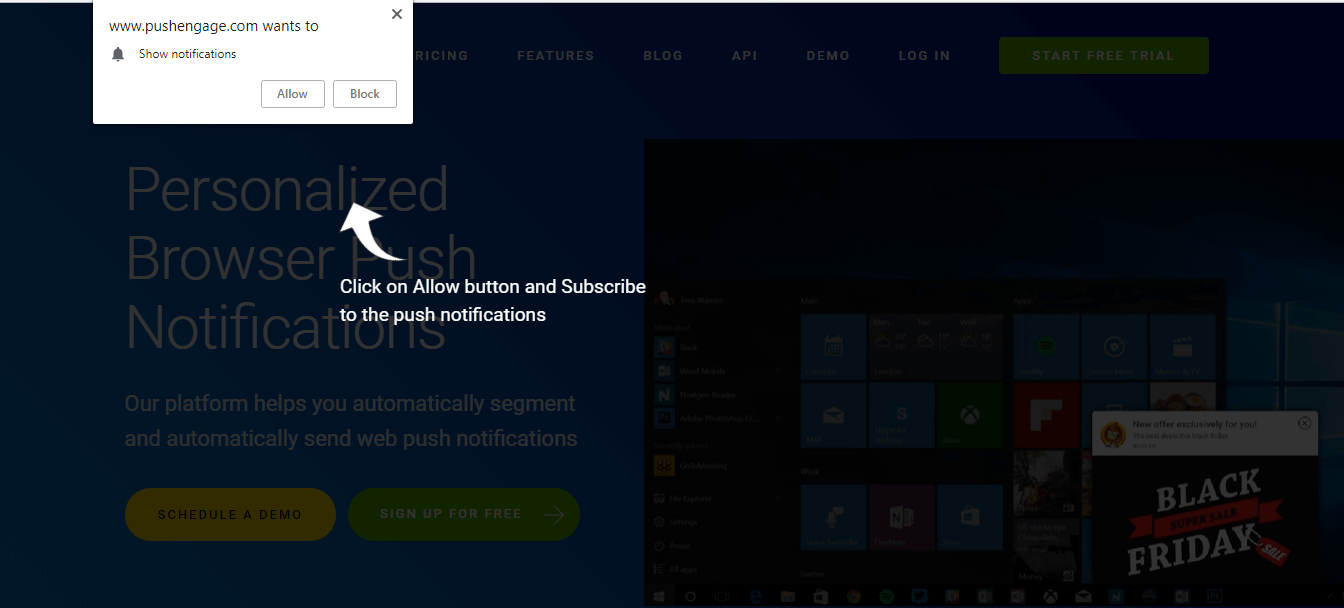
Push notification opt-in types There are multiple to choose from. However, Push Single-step opt-in has 3X more subscriptions than other opt-in styles. This is because the user can complete the subscription in just one click. In other opt-in user needs to click twice on the subscription dialog box to complete the subscription but first opt-in is Custom/HTML opt-in and second is Browser defined/native opt-in. On using Push Single Step opt-in only the native opt-in shows up. You cannot customize opt-in as it is browser defined but you can add delay if you want. This appears in the language of the browser and can have as high as 20% subscription rate in the set of data we have seen.
Use of Subscription Overlay
Subscription overlay adds focus on your opt-in. On using subscription overlay users have to take action on the opt-in to further use the website. The user has to either allow or block or click X on the opt-in to move forward. You can increase the opacity of the subscription overlay and change the text from your PushEngage Dashboard to emphasize your opt-in for the subscription. We have seen this increase in the subscription rate in our experience.

Show Opt-In After Optimal Time Spent
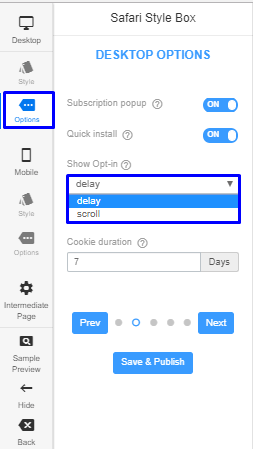
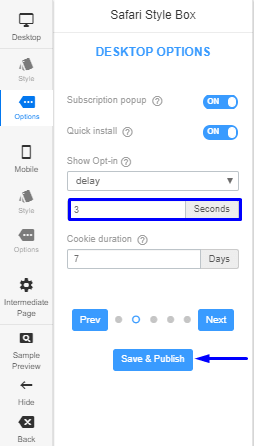
It is not necessary to show the opt-in as soon as the visitor visits your website. The placement and timing of your opt-in trigger depend hugely on the nature of your website. If you are an e-commerce website you can shop opt-in after the user spent 3 seconds on your website. You can add the time spent limit from your Pushengage Dashboard and the opt-in will show up after the user stays on your website for the specified duration.
Configuring Duration After a User Closes the Optin Pop-up
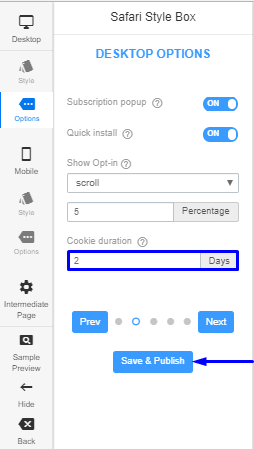
If a user clicks on X on the subscription dialog box he does get the opt-in again when he visits the website. This configured through a cookie duration. To enable your visitor to subscribe to the notifications again you can set the cookies to 2 or 3 or 7 days. In this way, notification opt-in will appear again after the number of days specified even if he clicks on X. The opt-in for subscription will show up accordingly again after the number of days you’ve added. Optimizing this duration will determine how soon you want to show the subscription option again to the user, and can result in increased opt-in rate.
Get Notification Widget


This widget acts as a recovery option for those who may have clicked the block. If a user blocks the notifications and wishes to subscribe again, he can do it by clicking on the Get Notification Widget. Remember, even at a 15% opt-in rate you have 85% blocking the notification. It appears on the right corner of the page. It is a simple method as it is entirely driven by the user’s actions.
Adding Opt-in on Page Scroll
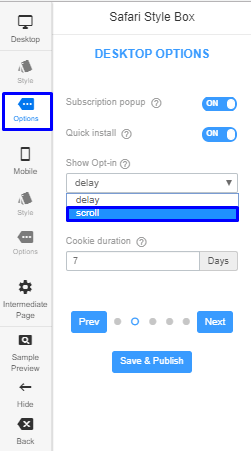
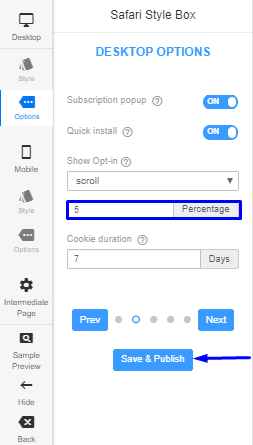
This is another way you can trigger your opt-in. For example, if you’re a blog or a news website, you can trigger the opt-in once someone goes to the end of the post/article or scrolls to a certain percentage of the page. In the meantime, the user can go through your blog and then he can decide whether to subscribe to the notification once the subscription dialog box pops up. This can be done by adding the percentage of the page scroll.
Using Funnel Analytics

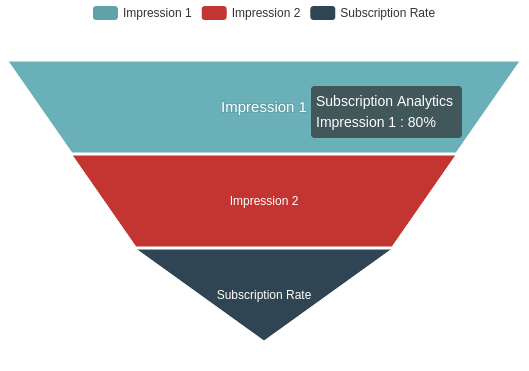
To understand each of the push opt-in templates are different. One type of opt-in may work for one website and another type would work for another site. To understand which push opt-in is best for your site, we can check out the detailed Push Notification Opt-In Analytics report. Funnel analytics provides push notification statistics which helps in improving the Push Notification Opt-In rate. With Push Opt-in Analytics, we will get the complete picture of how your opt-in is performing. You can then analyze the data and see which one works better.
If you are an HTTP site or use a 2 step opt-in, you can also change the placement, the color of the buttons, text, and font of the opt-in according to themes and can check what opt-in strategy works best for your site. You can also link click for a push subscription. Then you can optimize the performance of the opt-in using advanced analytics. Since users do not convert on a single visit, create retargeting strategies as well to optimize your conversion rate of push notification campaigns.
There are times when the user wants to unsubscribe from Web Push Notifications. Using PushEngage, you can enable the unsubscription option for push subscribers. I hope you can experiment with the above tricks and increase your subscription rate. You can also check out how vegis increased subscription rate by 10X using PushEngage. Push Notification is supported by most of the browser. You can receive push notifications on chrome browser, on Firefox browsers and more.

Thanks