Are you struggling to create a push notification marketing strategy from scratch?
It’s OK. You’re not the only one.
The good news is that many of our customers who had a strategy for their push notifications are killing it:
- Charlton Athletic Football Club gets 7.17% more conversions
- Saleduck gets 400% higher open rates with push notifications vs. email marketing
- WickedWeasel gets $2-4k per week in sales from push notifications
You get the gist, right?
The only problem is…
How do you create a push notification marketing strategy from scratch?
Don’t worry, we’ve got you covered.
We’re going to show you 9 push notification marketing strategies that you can take to the bank.
Did that sink in? Great! Let’s dive right into the good stuff.
#1. Double Down On Branding
Any marketer worth their salt will tell you that consistency is the key to building a brand. So, your push notifications have to be consistent with your overall brand as well.
One of the simplest ways to do that is to use your own domain name to send out push notifications:
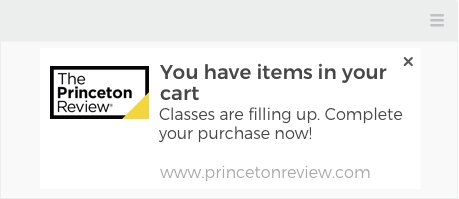
That looks so much better than using a PushEngage subdomain:
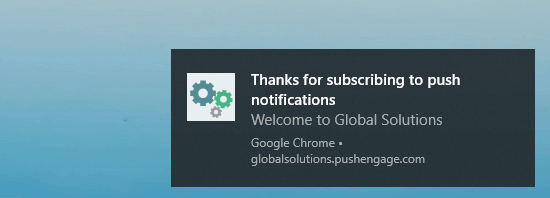
When people see “globalsolutions.pushengage.com” they connect with the “pushengage.com” part and feel confused almost immediately.
The good news is that this is really easy to fix.
When installing PushEngage, all you need to do is link your PushEngage account to your website from the WordPress dashboard:
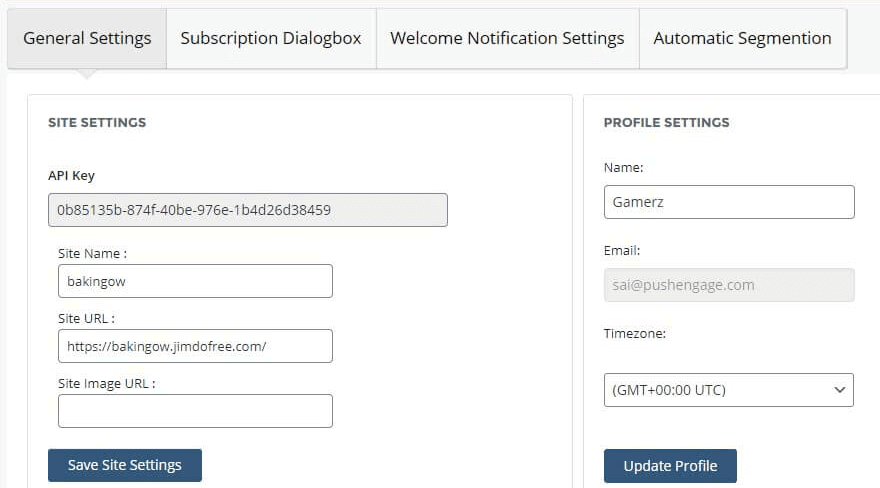
By using your own domain name, you are able to send out browser notifications using your own branding.
#2. Manage Your Subscribers Better Using Dynamic Segmentation
Dynamic segmentation is a way of breaking up your online audience into ‘segments’ based on their behavior on your website.
What does this mean?
A simple example is when someone using the free version of PushEngage upgrades to a paid version. They no longer get our nudges to upgrade to a paid plan.
Or, let’s say that someone with an abandoned cart finally checks out. They should no longer get reminders for their old abandoned cart.
In simple terms: They’re no longer part of the same audience segment.
And this change in segments happens automatically for your push notifications on PushEngage. This makes your messaging feel more personalized. You can also use dynamic segmentation to cater to individual interests in your subscribers.
The best part? You can ask them to choose the kind of content they want to see from you:
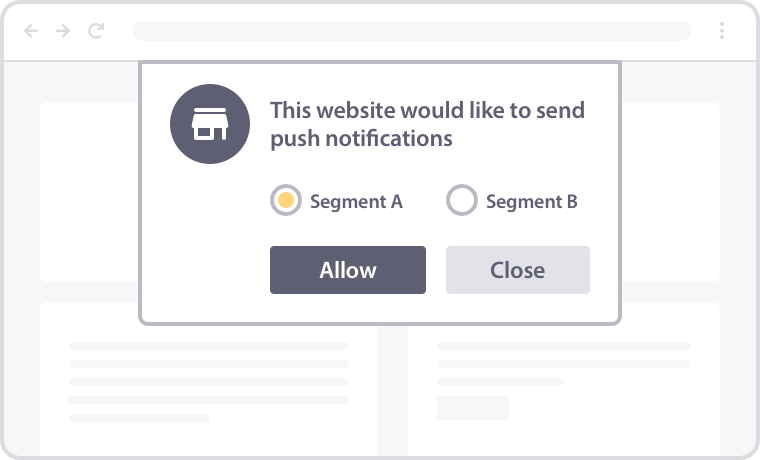
This improves your click rates dramatically and with very little effort.
Head over to your PushEngage dashboard and go to Segmentation to create your own segments:

Check out this article if you need a detailed tutorial on how to create segments.
If you’re looking for even deeper segmentation options, you should use the PushEngage Javascript API. The API gives you access to custom segmentation that goes a long way towards personalization:
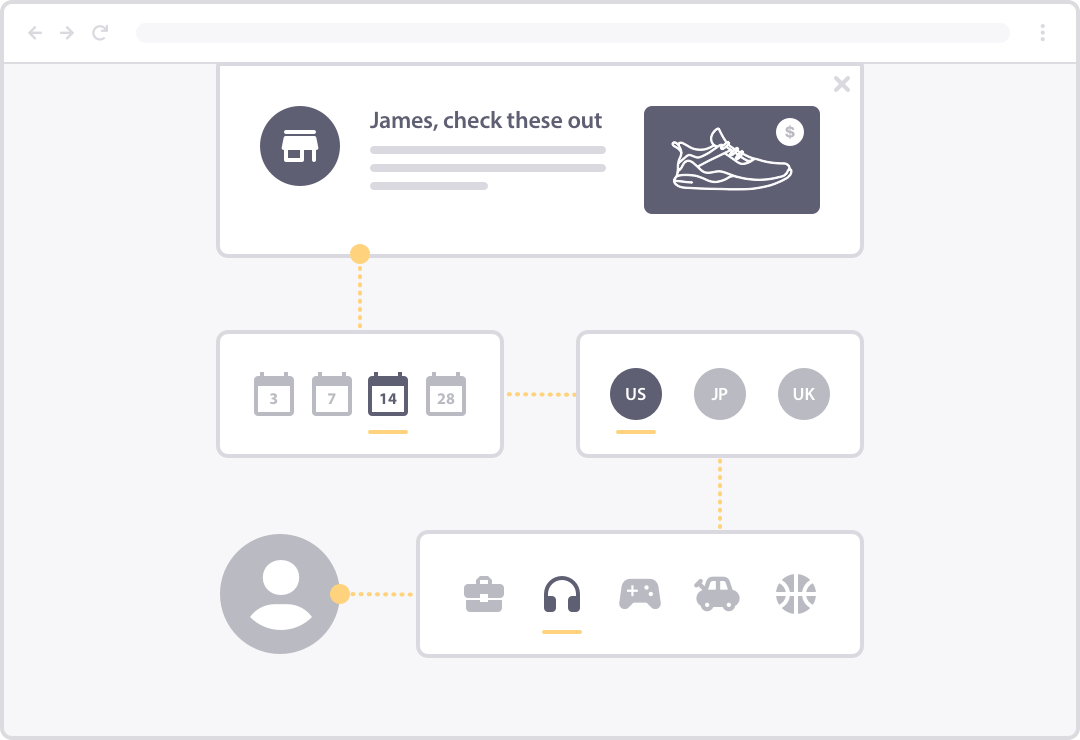
You could even connect PushEngage to your CRM to use any pre-built customer segments you already have and use.
#3. Use Automation for Follow-Ups and Campaigns
Automated drip push notifications are like email autoresponders with a better click rate. You can send out an automated series of push notifications to convince and convert casual browsers into paying customers.
Drip push notification campaigns are an extension of segmentation. You can create custom drip campaigns for each segment you create.
Go to Automation » Drip Autoresponder » Create New Drip Autoresponder to create a new drip campaign in PushEngage:

Here, you can create your entire campaign along with delays between each notification:
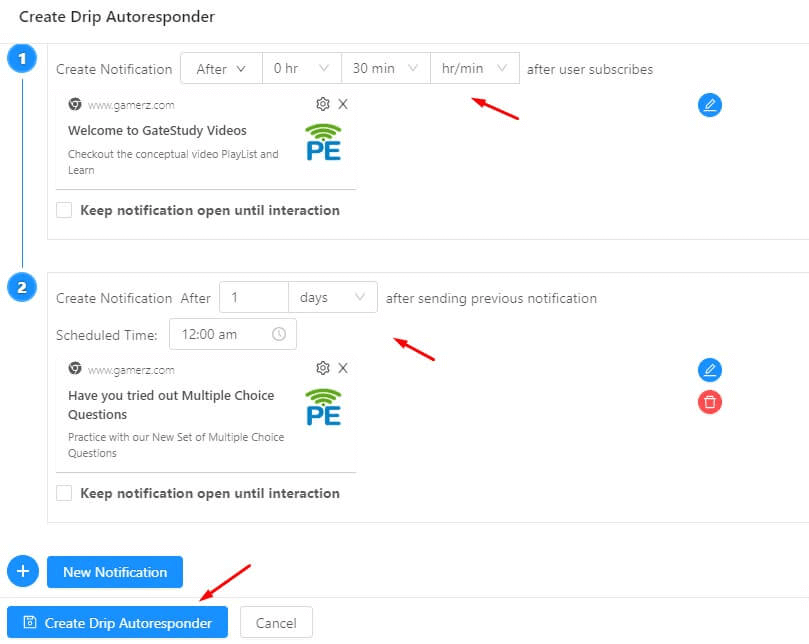
You can create a bunch of different drip campaigns. This includes:
- Automated onboarding campaigns
- Abandoned cart recovery campaigns
- Automated re-engagement campaigns
And more!
Check out our article on automated push notifications for some really creative ideas.
#4. Personalize Your Push Notifications
You’ve probably seen push notifications like this one before:
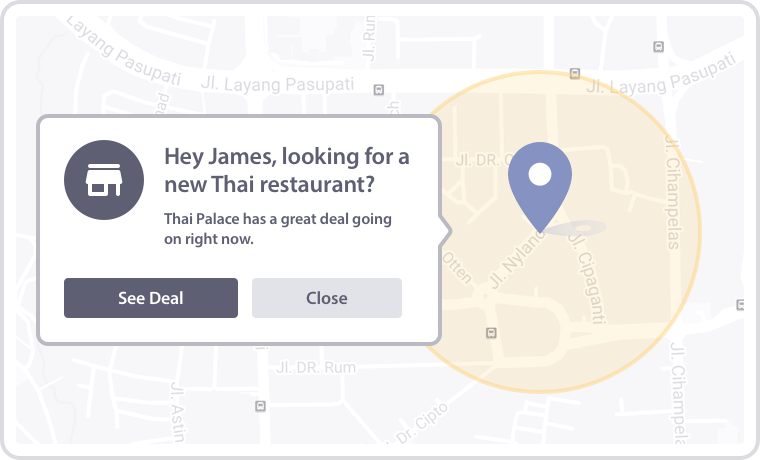
This is a type of personalized campaign that sends you notifications based on your location and some custom attributes such as your name.
You can send the same kind of campaign to your subscribers as well.
Phooto used location-based personalization for their push notifications by creating campaigns in local languages. Read the full case study right here.
Cool, right?
You should check out our article on personalized push notification campaigns that work for more creative ideas.
#5. Create Sales-Focused eCommerce Campaigns
Running an eCommerce website isn’t easy. There are multiple problems to overcome before you get someone to buy a product online.
You might generate a lot of traffic that never adds anything to their cart. This is called browse abandonment. You can create push notifications to combat it like this one:
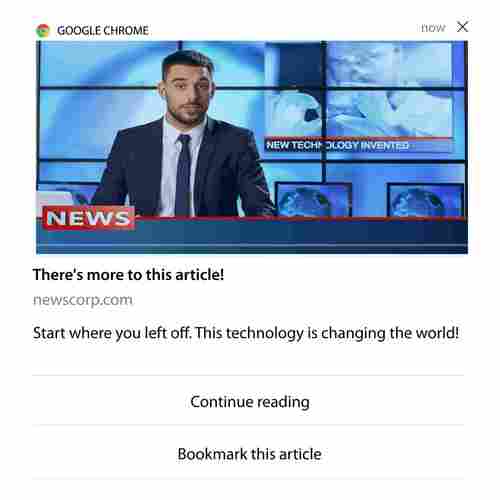
And even if your subscribers add a product to a cart, they may not actually buy it. That’s called cart abandonment.
Thankfully, you can create campaigns to convert your web visitors from both stages of abandonment using PushEngage.
You can even create campaigns that offer your subscribers some incentive to buy a product that they’re already interested in such as a price drop or inventory alert.
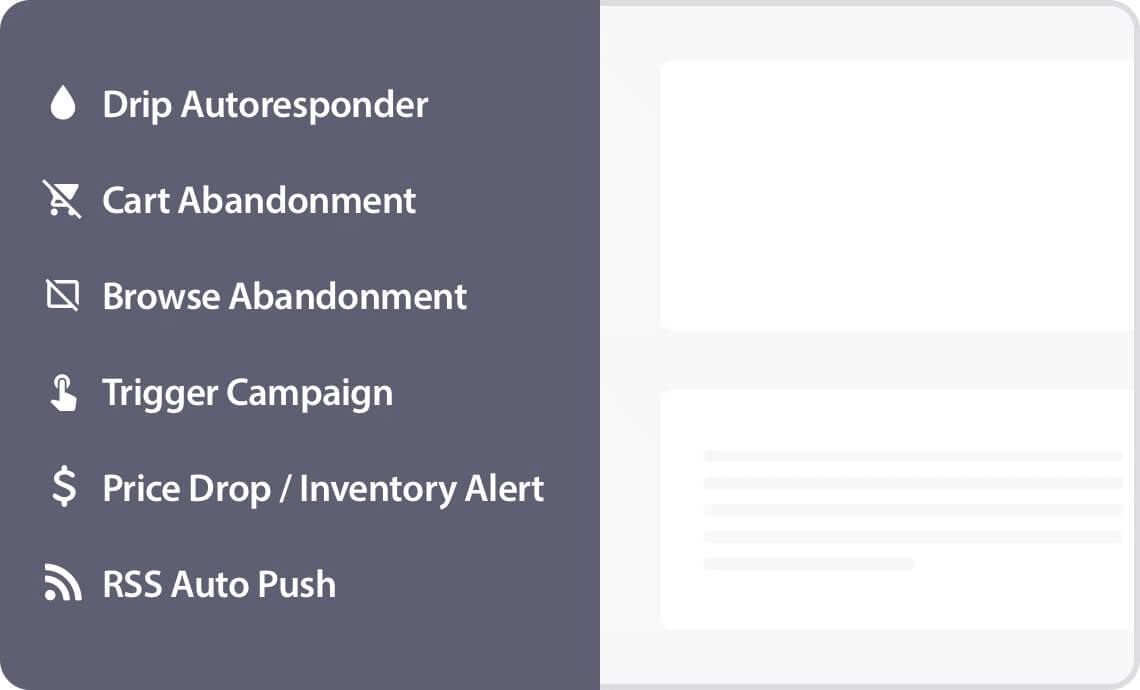
In simple terms, you can create multiple eCommerce-specific triggers to send out push notification campaigns for eCommerce sites.
Pro-Tip: Check out this article on the best WooCommerce plugins that can help you grow your business in simple, easy steps.
#6. Use Custom Scheduling To Get More Clicks
Timing is a critical factor in any campaign. Just take this onboarding sequence for instance:
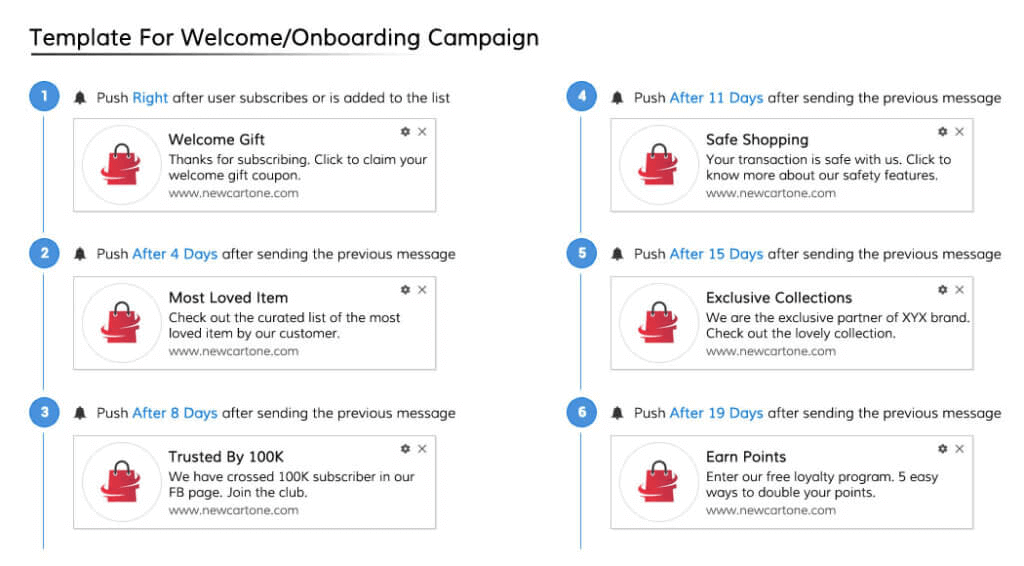
Now, think how weird it would be if you got a halloween offer in February instead of a Valentine’s week offer. Time plays a huge role in many aspects of the same campaign.
Here’s a secret: Most of your competitors don’t know how to make the most of scheduling to get more sales.
Intex increased click rates by 312% using drip push notifications and they did it by perfecting their campaign scheduling.
You can schedule push notifications to:
- Get sent in subscriber timezones
- Go out on repeat for recurring events
- Get sent out with delays between two consecutive notifications
And a lot more!
Check out our article on ways to schedule push notifications to make the most of your scheduling options.
#7. Optimize for Conversions Using A/B Testing and Goal Tracking
The only way to grow your business sustainably is to pay attention to the right numbers.
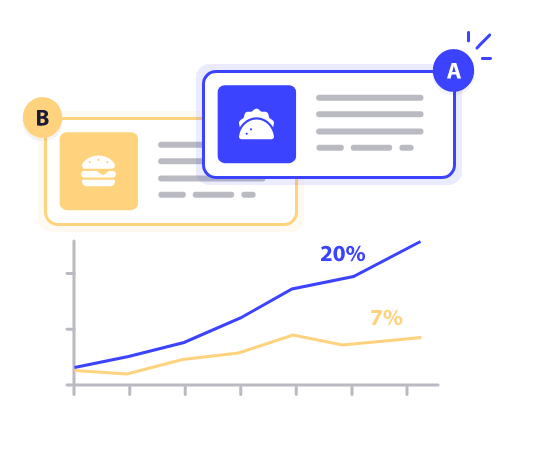
Of course, you’ll want to increase your push notification subscribers but you’ll need to experiment a lot to increase your sales along with it.
The good news is: PushEngage offers Goal Tracking and Smart A/B Testing features so that you can grow your business using push notifications.
Smart A/B Testing helps you test out different ways to convert your subscribers into paying customers. You can test between images, buttons, titles, and URLs to see what converts best for your campaigns.
Goal tracking keeps you on track with what you want to achieve. You can keep tabs on how much revenue your push notification campaigns are making right from the PushEngage dashboard.
#8. Create Campaigns That Get Triggered By Specific Actions
Imagine having to engage with your entire web traffic to convince and convert each individual one at a time. That’s a complete nightmare, right?
Thankfully, PushEngage allows you to create smart triggers that automatically launch push notification campaigns.
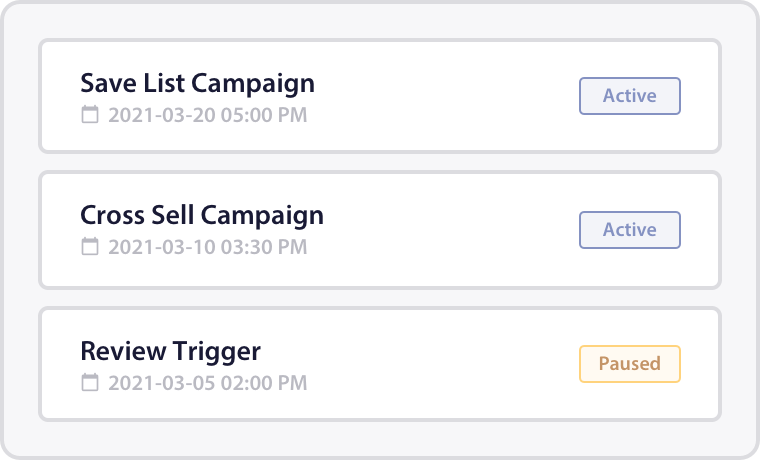
The beauty of it is that it’s really easy to set up triggers using PushEngage:
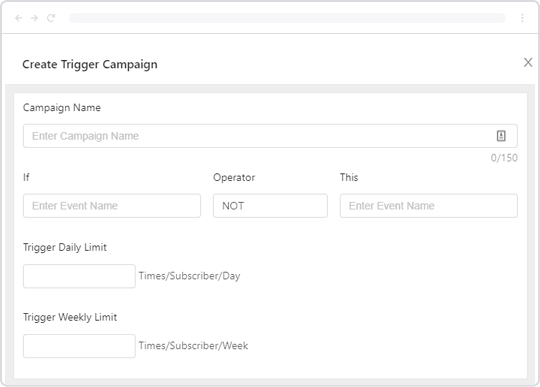
In fact, you can even use some pre-defined triggers to send out drip push notifications. For instance, abandoned cart recovery campaigns use the default PushEngage triggers.
Also, if you really want to make things interesting, you can use the PushEngage Javascript API to create custom events that fire off campaigns. This includes any action your web traffic takes on any of your URLs such as scrolling, clicking, and downloading files!
#9. Make Money Even When You Sleep With Offline Notifications
Offline notifications are what separates web push notifications from online push notifications. The old way of sending out push notifications was to send out the notification whether the subscriber was online or not.
In other words: The old way of sending push notifications had some deliverability issues where the subscriber might never see the notification at all.
Offline notifications send out push notifications that wait for the subscriber’s device to come online to show the messages. This way, there are no deliverability issues.
The best part? You can set up expiration dates and times for each notification so that if it becomes irrelevant or outdated, it won’t confuse the subscribers.
PushEngage uses offline notifications by default for all its push notifications. You don’t have to enable it. All you have to do is set up a push notification with an expiration date.

Do you think that’s cool? Let us know in the comments below!
Wrapping Up
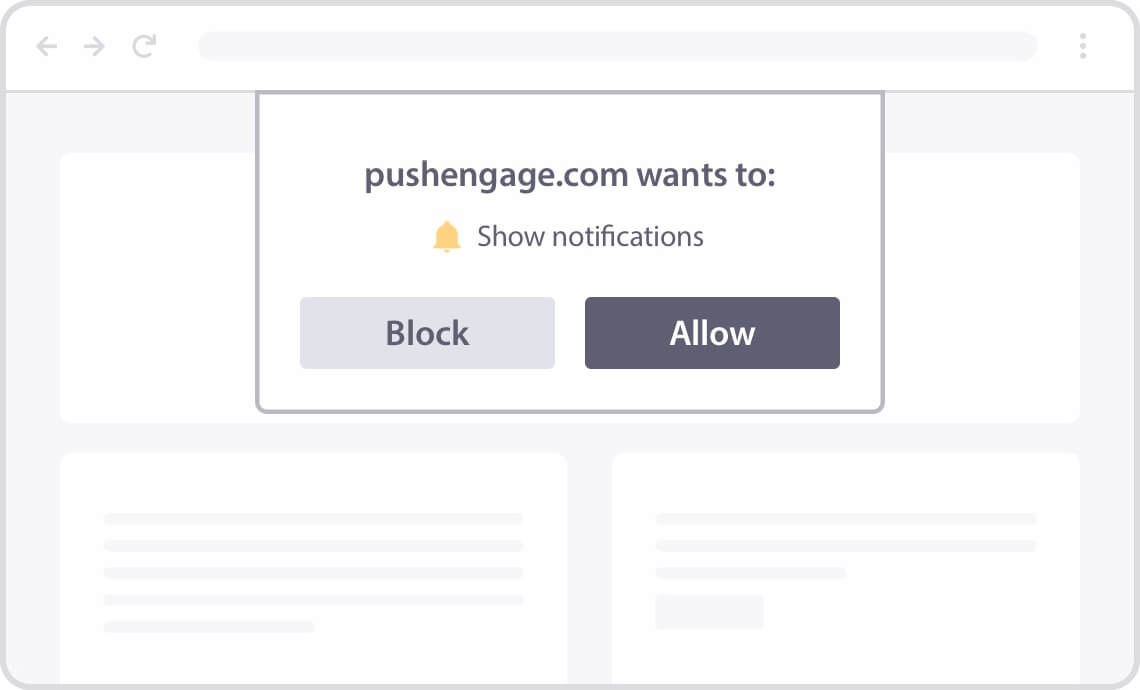
You should know that all push notification campaigns are based on a marketing philosophy called “permission marketing”. It basically means that you take consent up front from your subscribers before you start marketing to them.
In simple terms: You never have to worry about GDPR compliance if you’re using PushEngage. You get permission from your website visitors to send them push notifications when you ask them to opt in.
If you’re just starting to explore push notification campaigns, you should get started with PushEngage.
PushEngage is the #1 web push notification software in the market. If you’re not sure where to start, you can sign up for the free version. If you’re looking to scale your business with powerful campaigns, though, you should go for one of the paid plans.
That’s all for this one.
