Notice: There is no legacy documentation available for this item, so you are seeing the current documentation.
Do you have existing categories in WordPress that you would like to use as segments within PushEngage to send out targeted and contextual notifications? In PushEngage, you can easily map your existing categories to segments in your dashboard. In this guide, we will explain how to use category segmentation in WordPress.
Note: This feature is available in Business plans and above.
Why is category segmentation important?
Category segmentation is used to add the visitor who is a web push subscriber as well into a PushEngage segment when they visit a particular post’s category. For example, when a post with the category – ‘News’ is added, and a person visits the post having that category. Your subscriber in the segment News will be increased by one.
How to enable it?
This feature can be enabled from WordPress Dashboard. To use a category to be added as a Segment, you will need to have at least one post with that category.
Below are the steps to follow to use Category Segmentation :
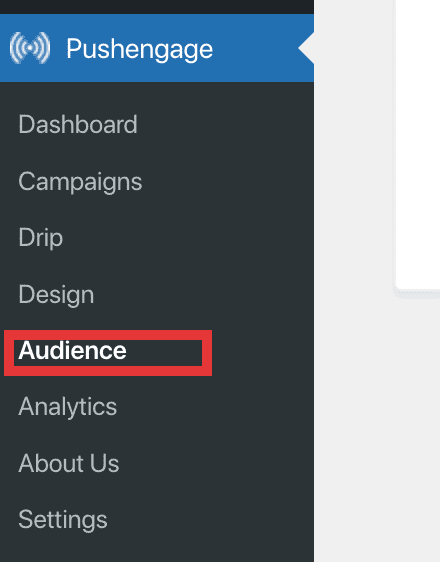
Step 1: Click on the installed PushEngage plugin

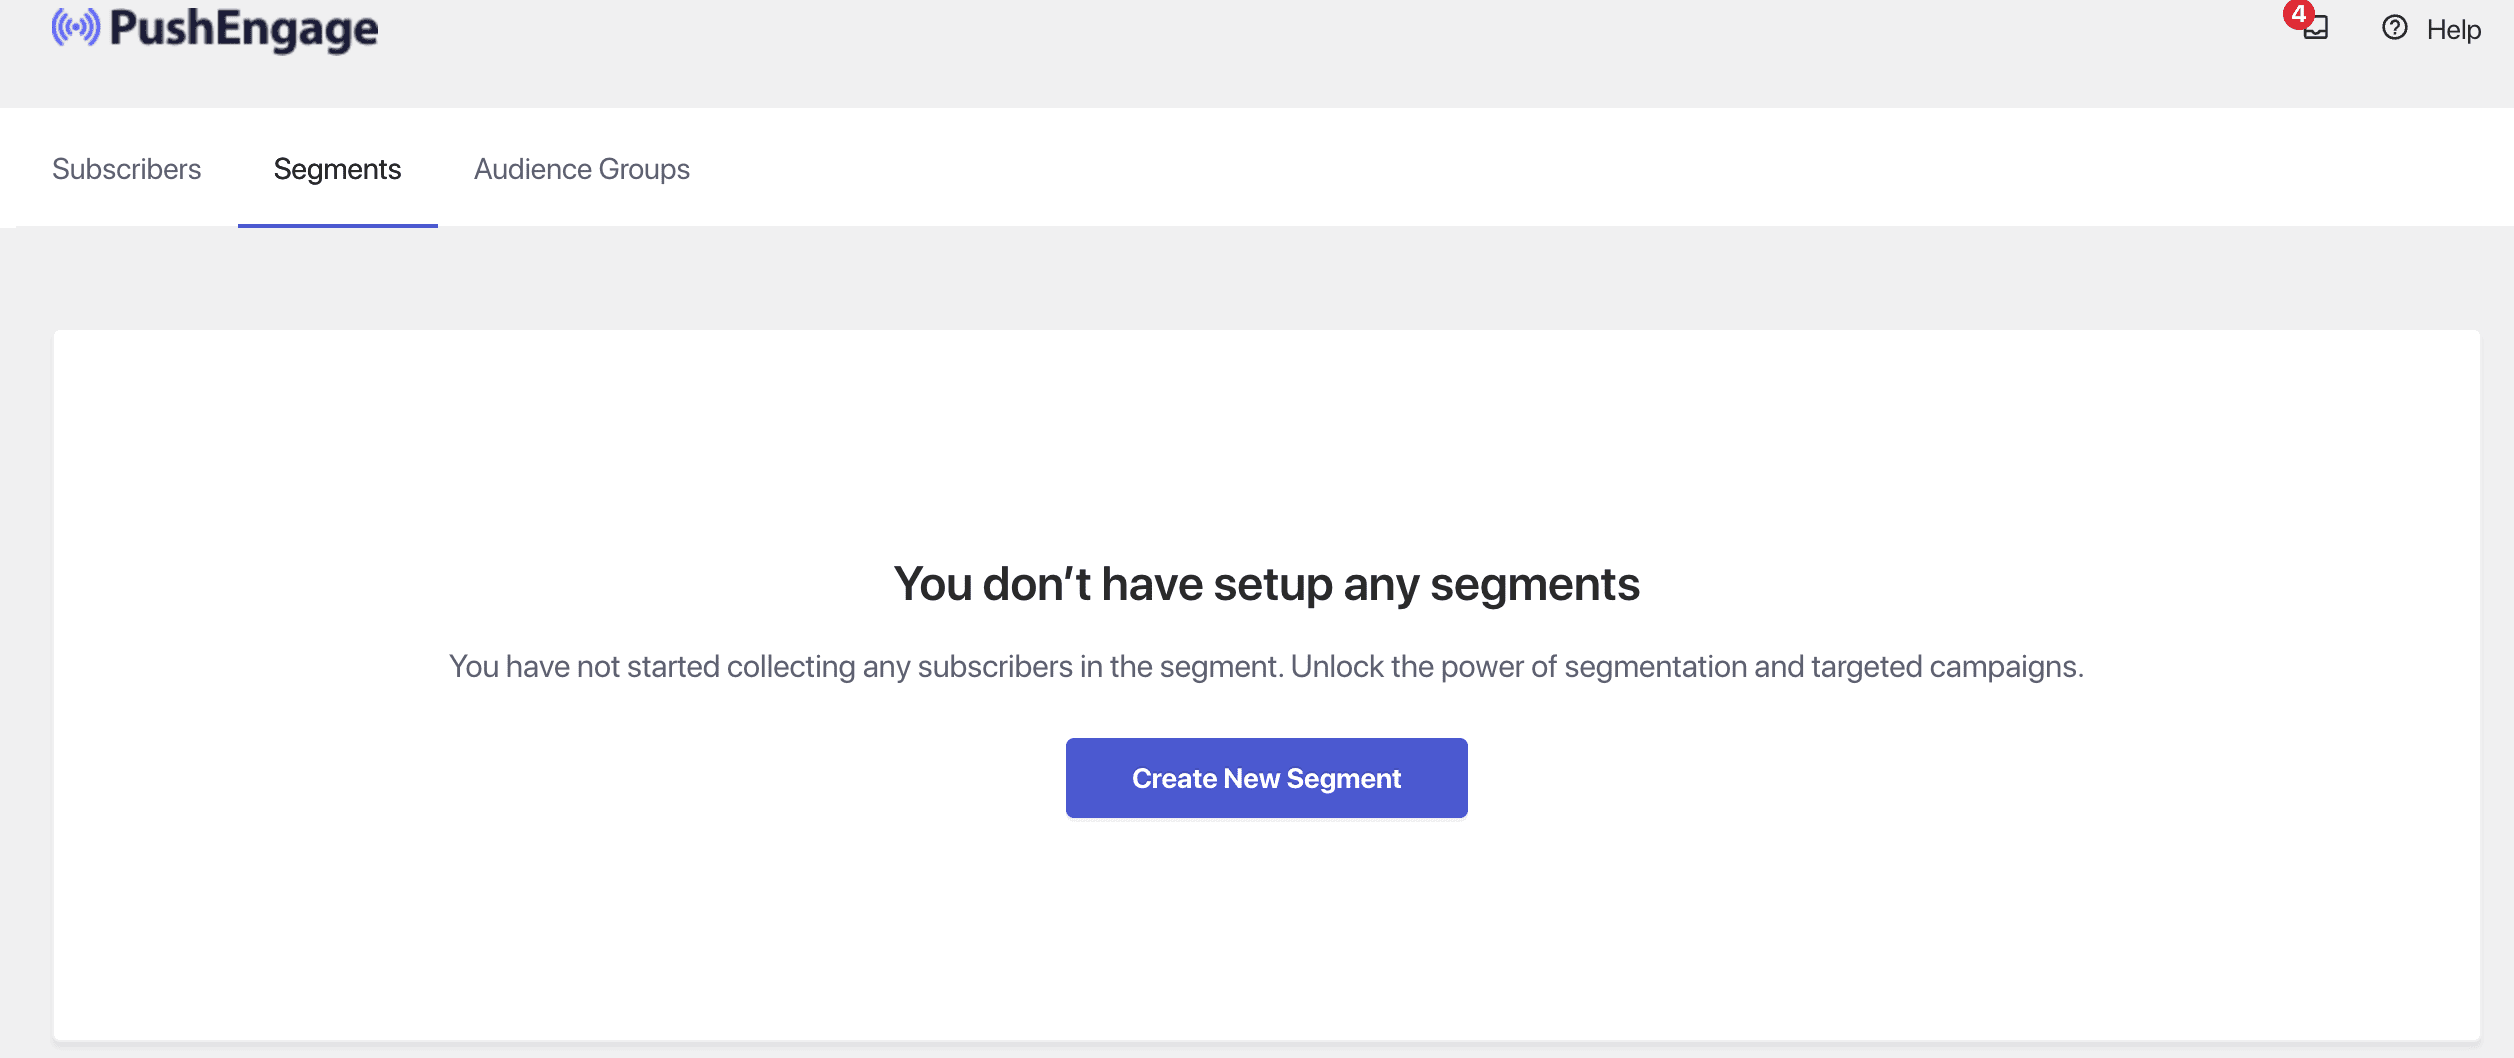
Step 2: Navigate to the Audience Tab and then click on the Segments section.
Step 3: Click on ‘Create New Segment’

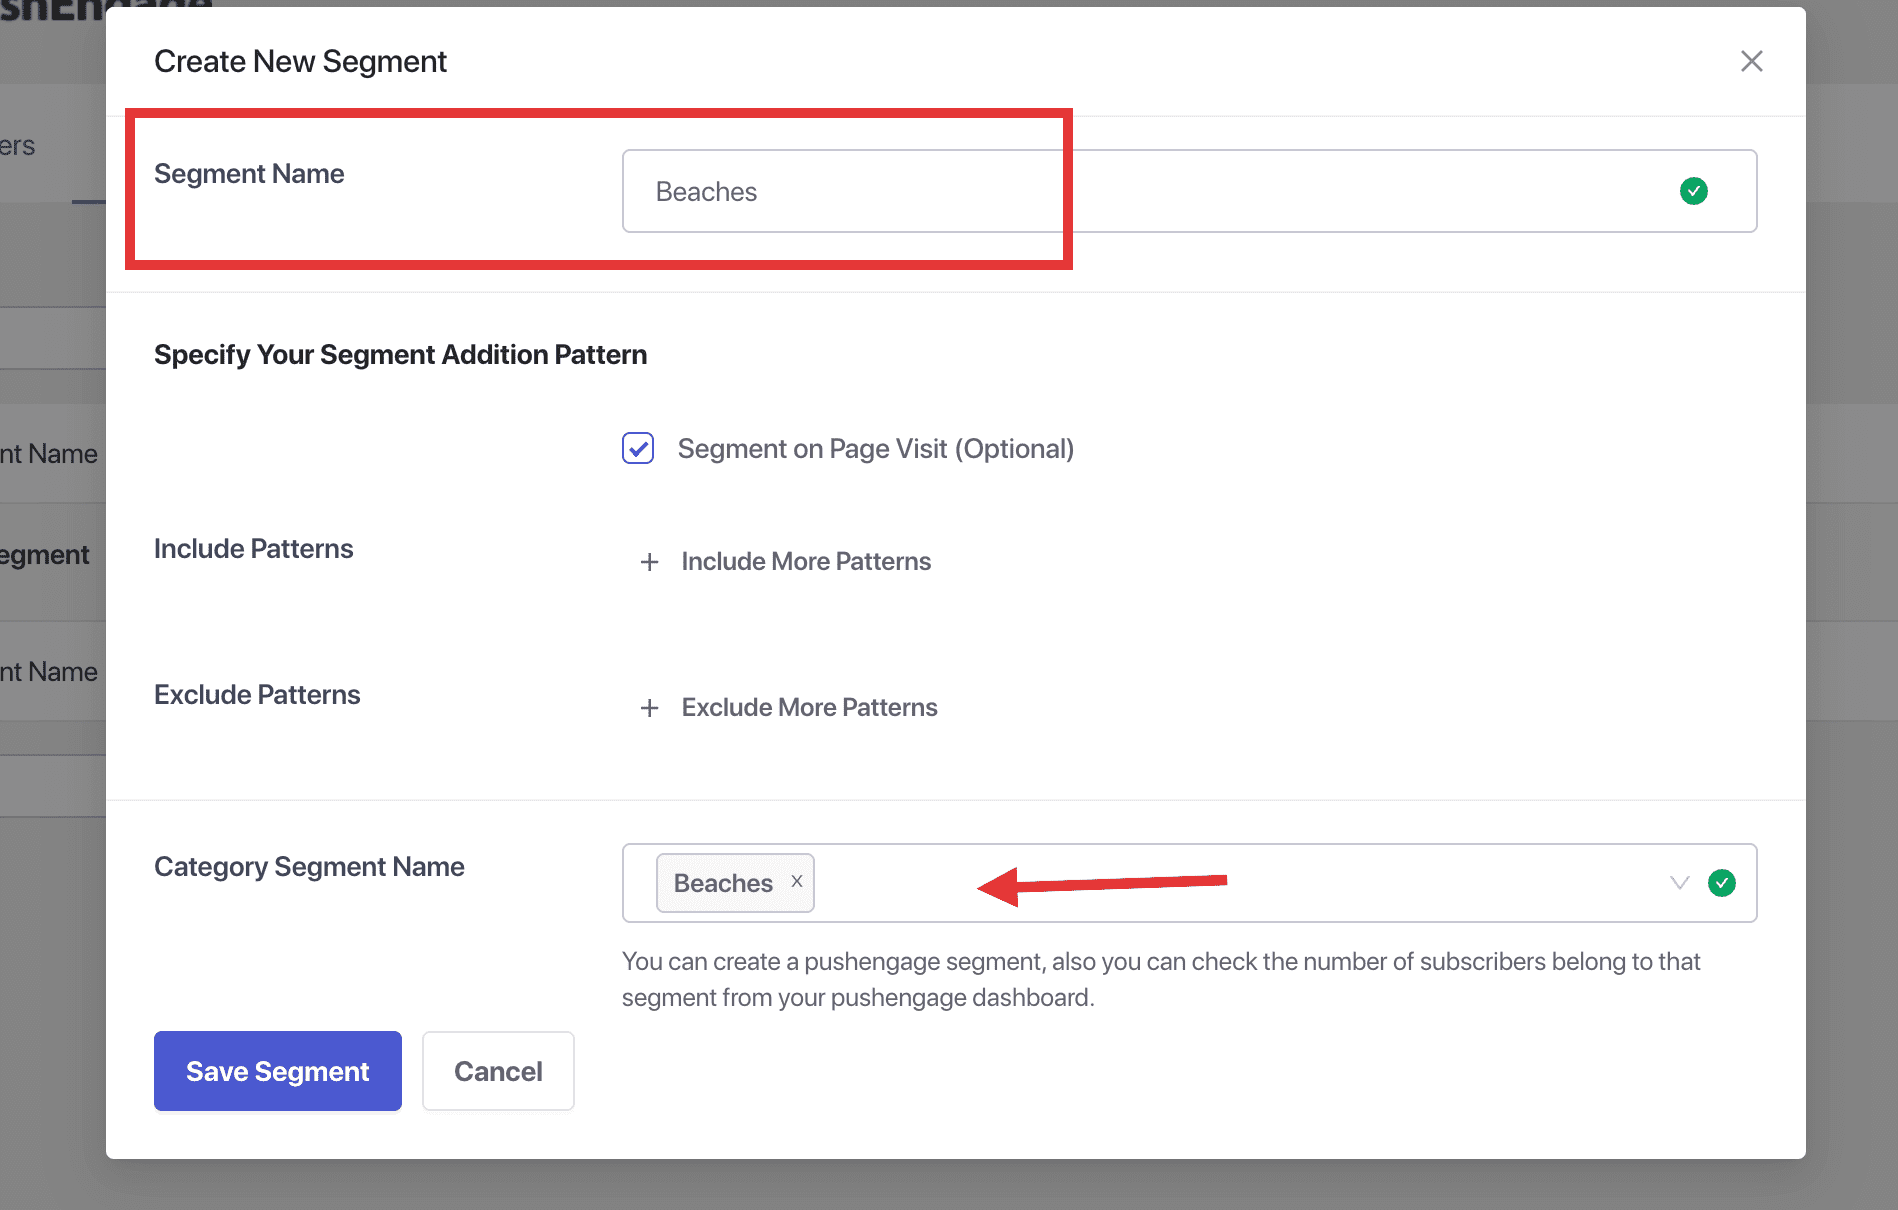
Step 4: Choose either an existing category or if you want you can also create a new category. Then under the PushEngage segment name choose from the dropdown a segment name to assign.
Step 5: Select the checkboxes you want under the enable section for the segments that should be collecting subscribers.

That is all, you can now start using Categories to define the segments within PushEngage. Your subscribers will be added to segments based on the category they visit.
If in case you run into any issues, please feel free to contact us by clicking here. Our support team would be able to help you.