Looking for an easy way to add a WordPress events calendar to your site?
Having an events calendar on your site is a great way to get more eyeballs for your online and offline events. But which plugin do you use? How easy is it to set up a calendar? Where do you get started?
Don’t worry. We’re going to answer all these questions and more.
In this article, we’re going to show you step-by-step how to add an events calendar to your WordPress site.
Ready? Let’s dive in.
Step #1: Install and Setup Sugar Calendar
Sugar Calendar is one of the best WordPress calendar plugins you’ll ever find. It’s a lightweight plugin that’s super easy to set up and use. For this tutorial, we’re going to use Sugar Calendar to set up an events calendar for your site.
First things first, you’ll need to install and activate the Sugar Calendar plugin. If you’re not sure how to do that, you should check out this article on how to install a WordPress plugin.
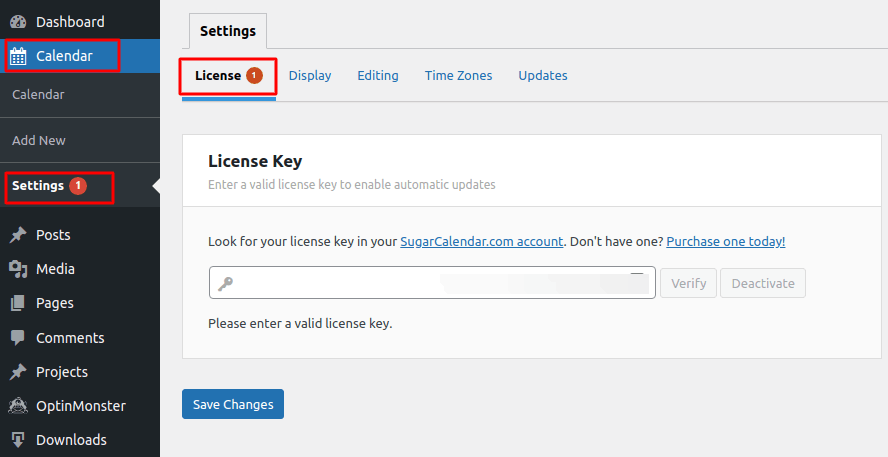
Once that’s done, go to your WordPress dashboard and head over to Calendar » Settings » License:
Then, log in to your Sugar Calendar account and go to Your Account:
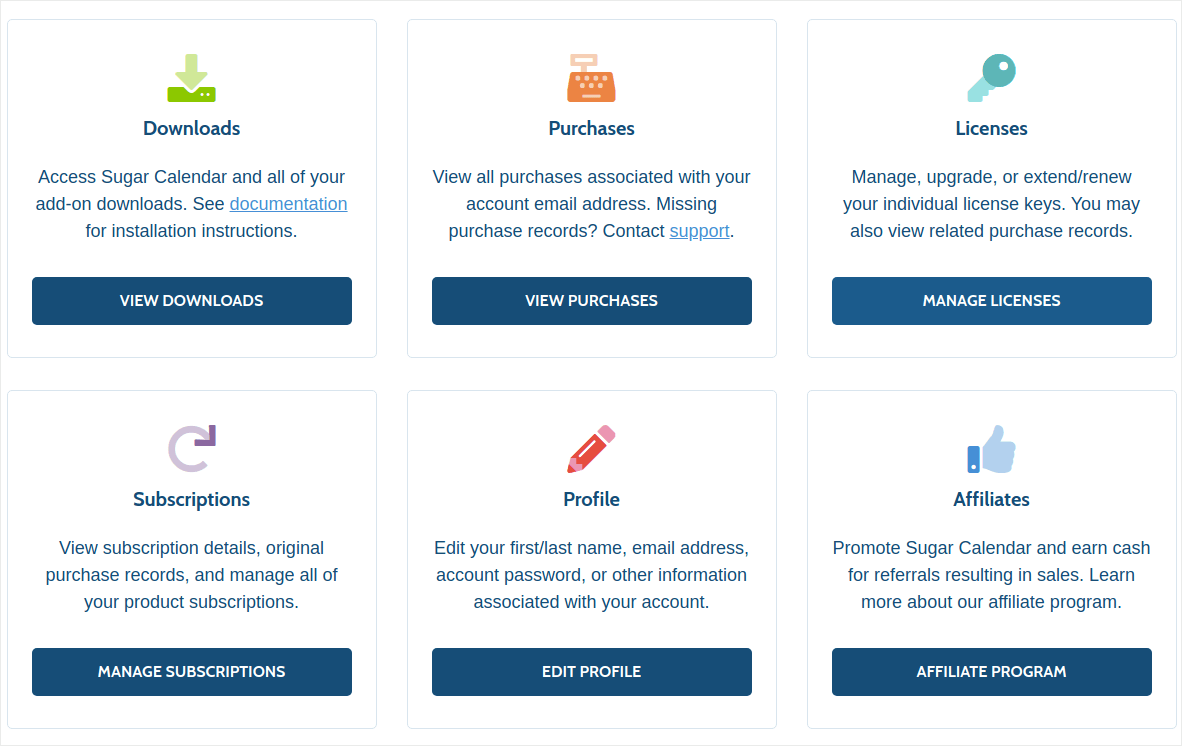
Then, click on Manage Licenses to get your license key:
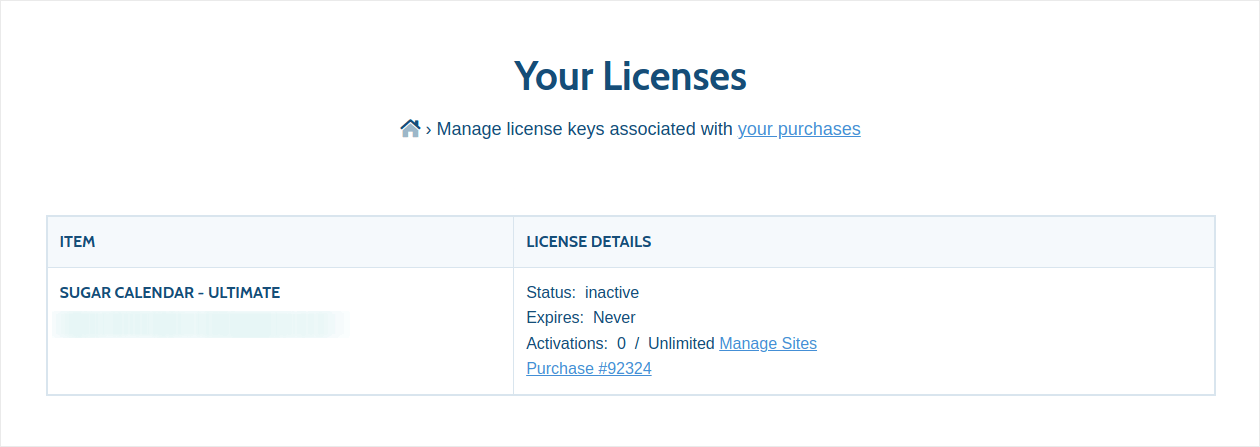
Finally, paste your license key in the Sugar Calendar plugin:
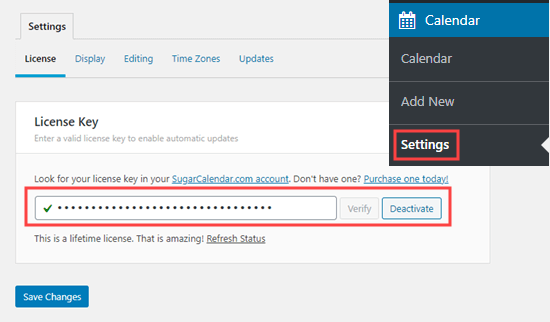
When you’re done, click Save Changes and you’re done setting up the plugin. Next, we’re going to create your WordPress calendar.
Step #2: Create a WordPress Events Calendar in Sugar Calendar
Head over to your WordPress dashboard and go to Calendar » Calendars » Add Calendar:
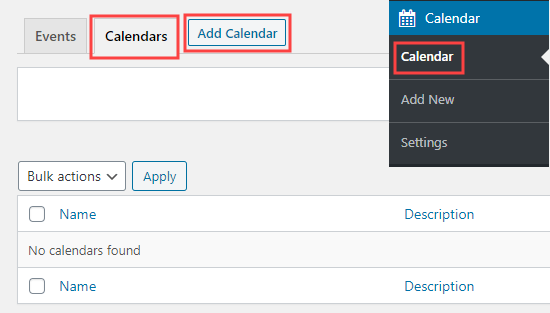
You’ll see a popup box to add your new calendar.
Here, give your calendar a name, a description, and a slug to define the URL for your calendar:
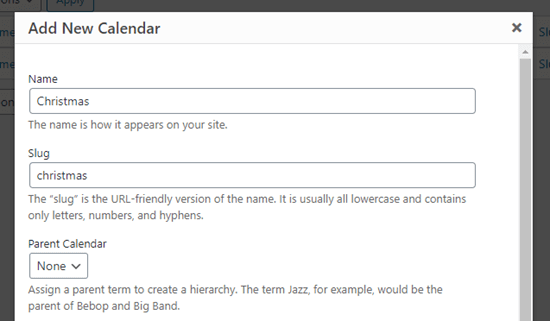
By now, you’ve already created a new calendar. So, let’s go fill it out with your events.
Step #3: Add Events in Sugar Calendar
Click on the Events tab and then click on the Add Events button to add an event to your calendar:
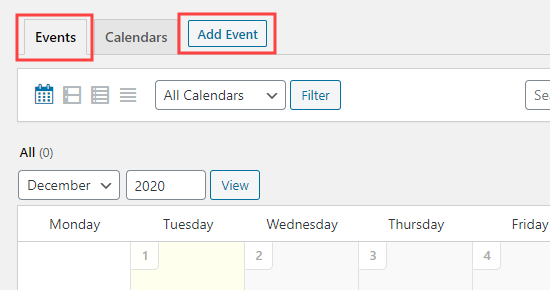
Now, it’s time to fill in the details for your own event. Start by giving your event a name, location, details, and description:
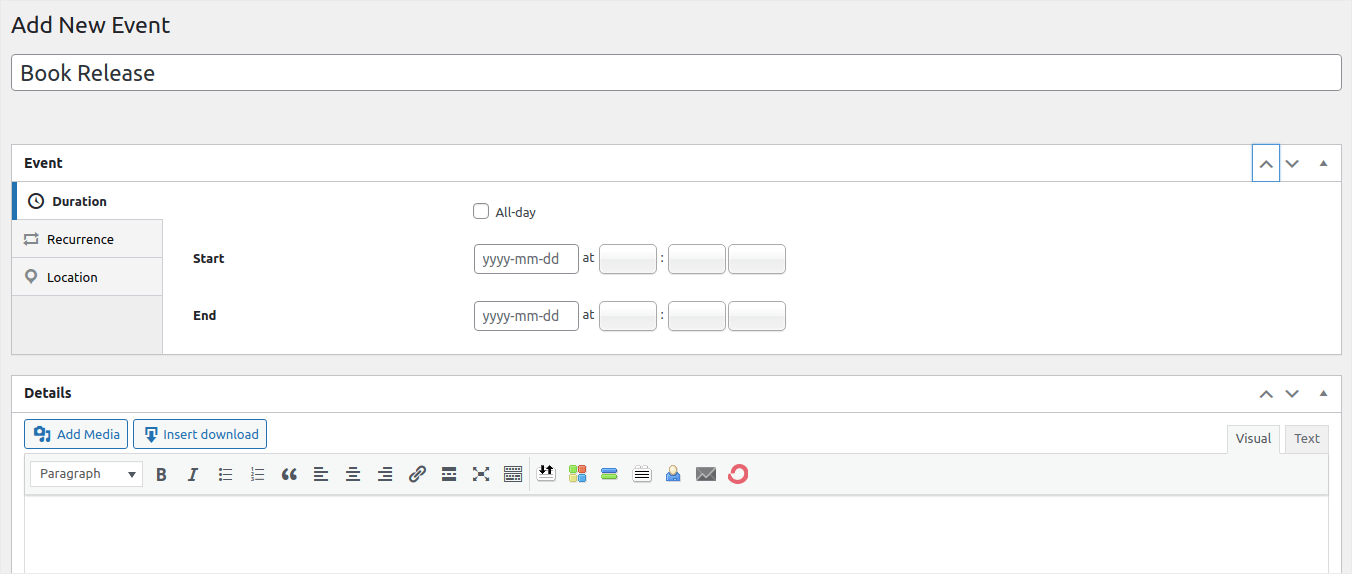
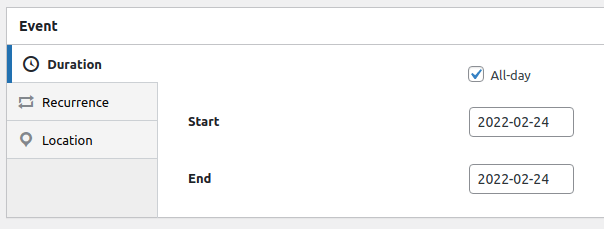
You can set the start and end times for your event under Duration:
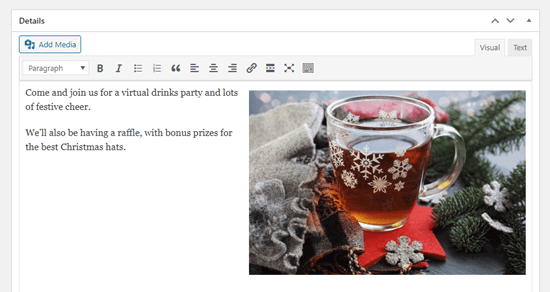
Finally, go ahead and fill up the information about your event in the Details tab:
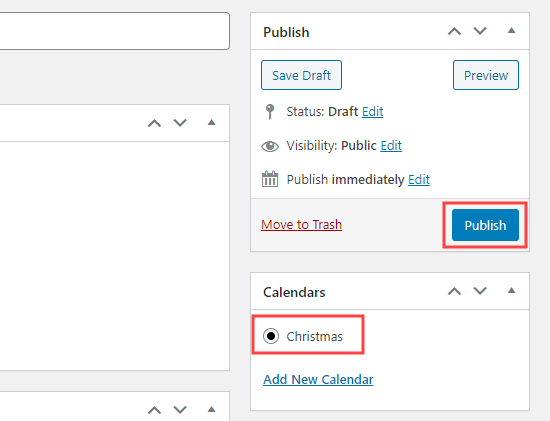
Finally, add the event to a calendar and hit Publish:
And that’s all! Since this is your first calendar, you’ll need to display your calendar somewhere on your site next.
Step #4: Display Your WordPress Events Calendar on Your Site
You can add your calendar to any page or post on your website. You can even use the Sugar Calendar widget to add it to your sidebar. On any page you want to display the calendar, go ahead and create a new Shortcode block:
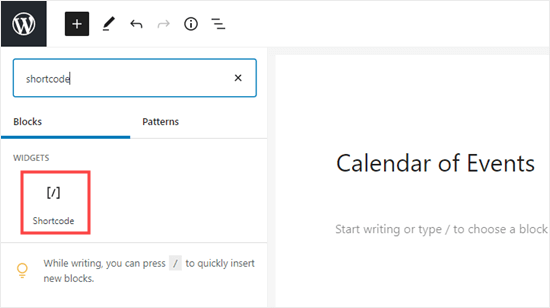
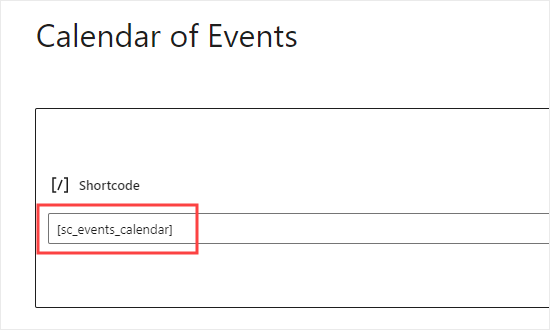
And then, paste in this shortcode: [sc_events_calendar]
Finally, it’s time to publish your calendar and see it live on your page:
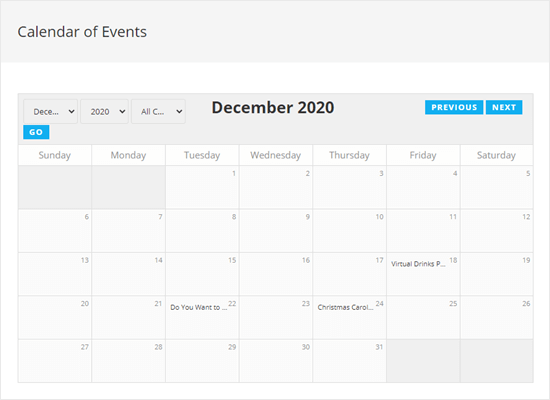
That’s it. You’re done! Your visitors will now be able to check out your calendar on your site and look at different listed events.
How to Promote Your WordPress Events Calendar
That’s all for this one, folks!
If you’re looking for a super-effective way to promote your new calendar or an upcoming event you should try sending push notifications. Push notifications are a great way to increase your repeat traffic, site engagement, and sales.
Check out these resources and you’ll know what we’re talking about:
- Drip Campaigns and Autoresponders For Web Push Notifications
- 5 Benefits of Using Cart Abandonment Push Notification Campaign
- How to Convert Subscribers To Buyers Using Web Push Notifications
- How to Add a Web Notifications WordPress Plugin to Your Site
We recommend using PushEngage to send your push notifications. PushEngage is the #1
push notification service in the world. So, if you’re serious about growing your business, PushEngage is the right option for you.

