Notice: There is no legacy documentation available for this item, so you are seeing the current documentation.
The most common problem that any eCommerce store faces is Cart Abandonment & Browse Abandonment. Lost sales opportunities are created when customers leave your store without completing a purchase. If you are able to solve this you recover potential revenue and improvise the conversation rates.
PushEngage Shopify App helps you enable automated campaigns which requires no coding. It directly integrates with your product feed and fetches the Product name, price and image this helps you design the campaign. You can simply enable it and then analyze the results.
You can go through this guide or watch this video to enable the campaigns:
Before You Start
Here are some things to know before you begin:
- This guide assumes you already have the PushEngage App and Shopify Store for your website.
- Our Shopify integration requires a PushEngage Growth subscription to create a Cart and Browse Abandonment Campaign using our Trigger Campaign feature.
Enabling Shopify Automated Campaigns
Log in to your PushEngage account. From the dashboard, go to the Campaigns » Trigger Campaigns.
PushEngage integrates seamlessly with your store and offers ready-made templates for cart and browse abandonment.
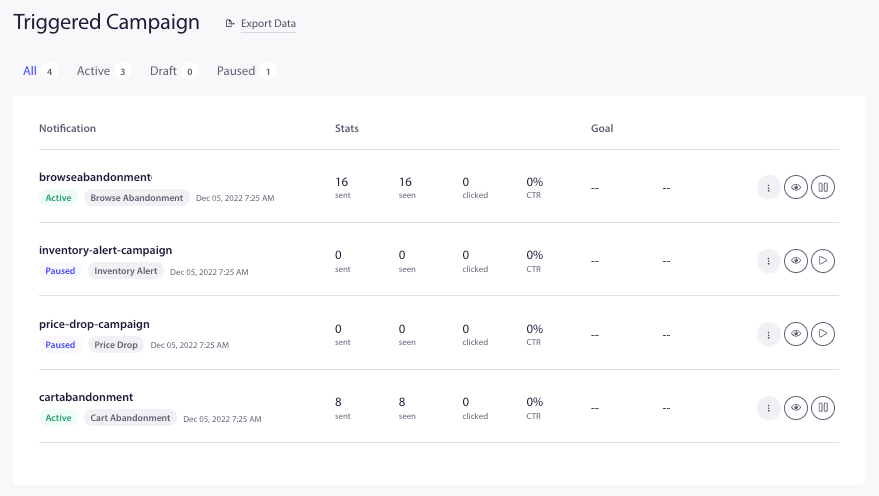
These campaigns integrate directly with your product feed and fetch all the needed variables.
You can click on the Resume Trigger Button.

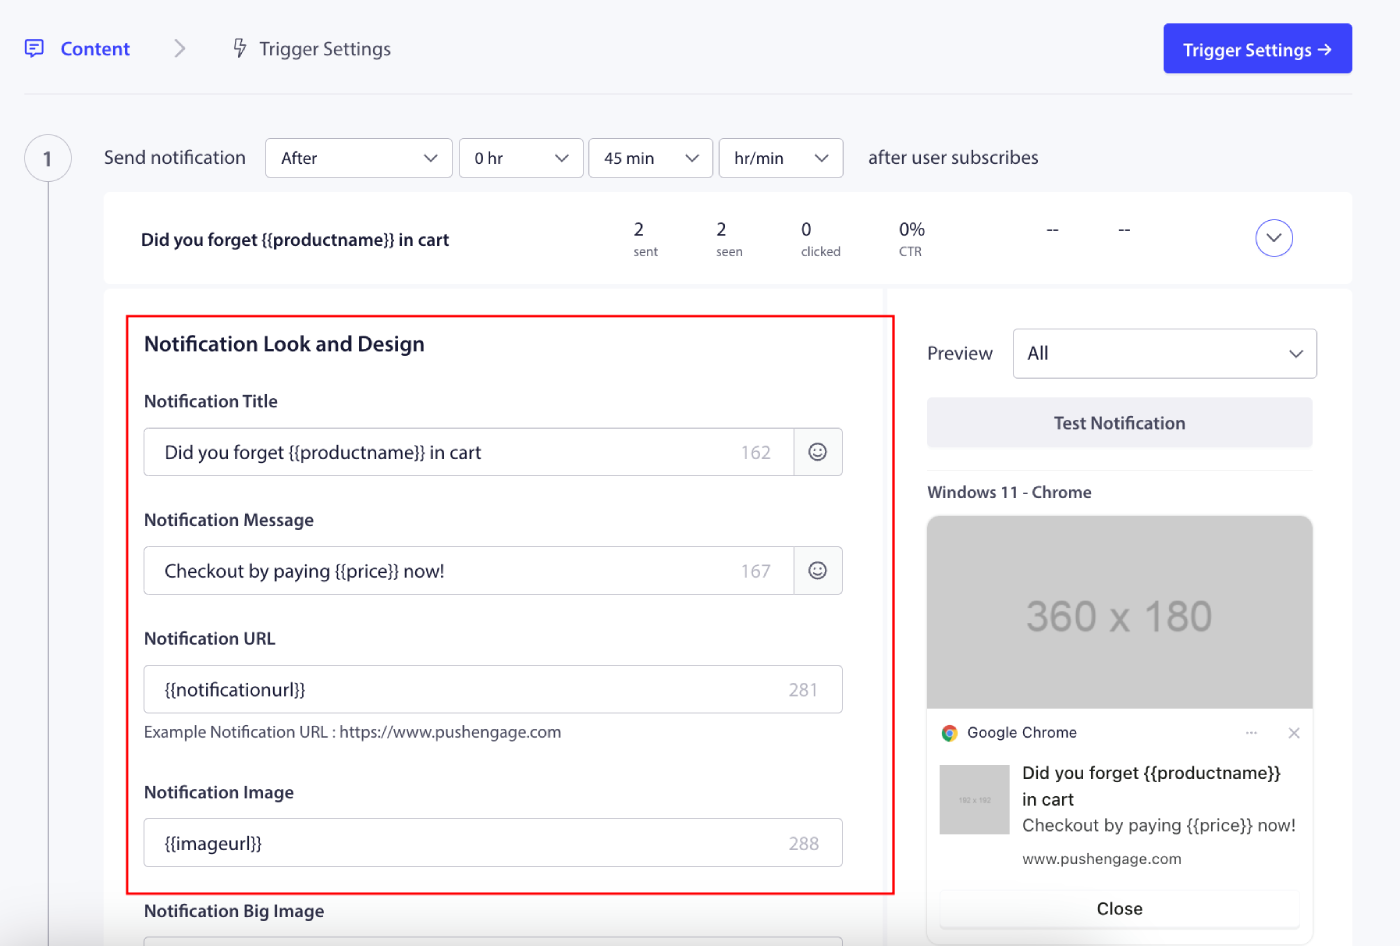
You can also Edit the already created campaigns, after you click on edit you will have few push notifications added in the campaign.
Note : Please do not remove the variables for product name, price, image, and URL to ensure dynamic content is displayed to users.
The variables available to use with the messages are :
- productname : This will fetch the product that was abandoned after visit or in the cart based on the campaign.
- price : This will fetch the listed product price.
- notificationurl : This is Product Detail Page for Browse Abandonment and Cart Page for Cart Abandonment Campaign.
- imageurl : The site logo is fetched for this variable.
- bigimageurl : Here the product image is used.
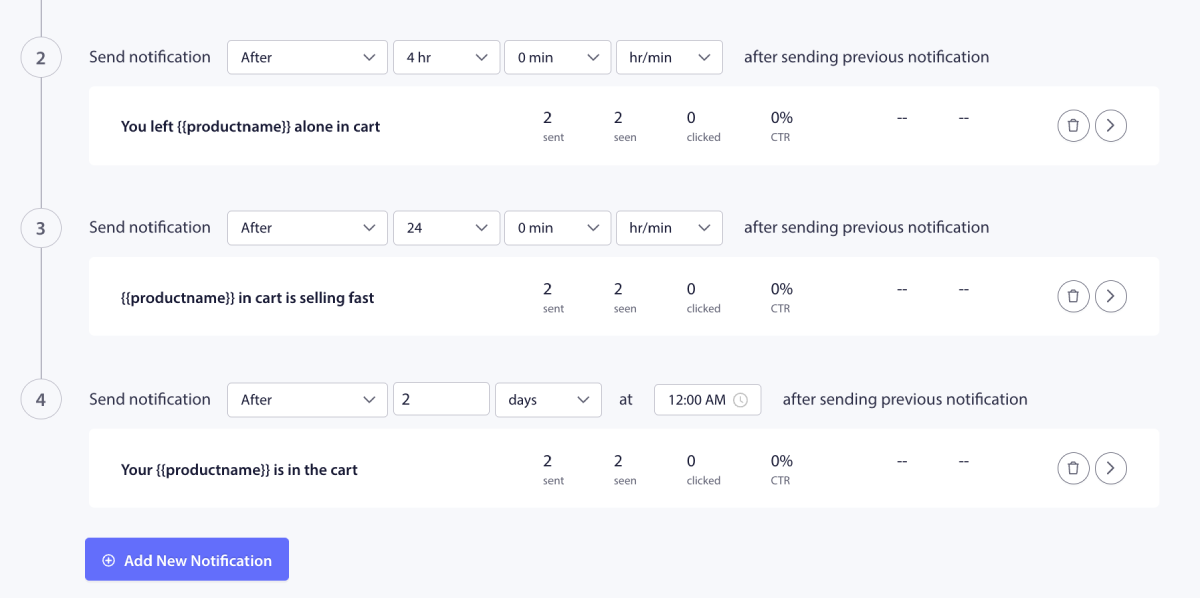
You have the ability to schedule the campaign flow for each notification as well. You can either add new/remove campaigns.
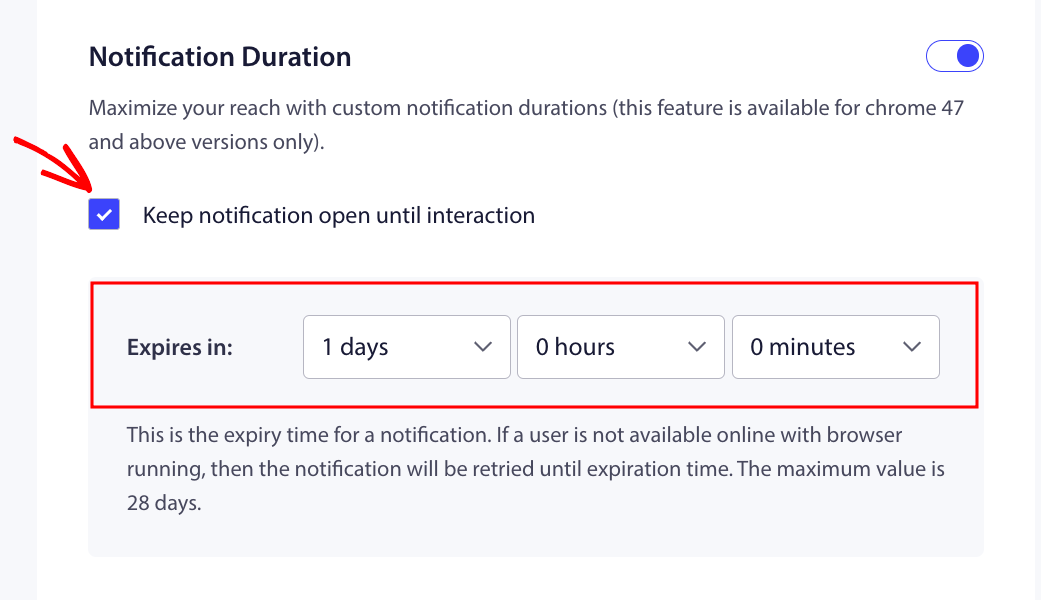
Optimizing Settings of Notifications
Notification Duration, will help setup the campaign duration for how long the campaign lives. The best practice is to have it on the basis of next scheduled. This means if first notification was set to go out after 1 day and the second notification will go out after 2 days the duration of expiry should be 48 hours/2 days for first notification.
You should also always have the notification open until reaction so the campaign does not go away from screen and stays in action center if there is no action by the subscriber.
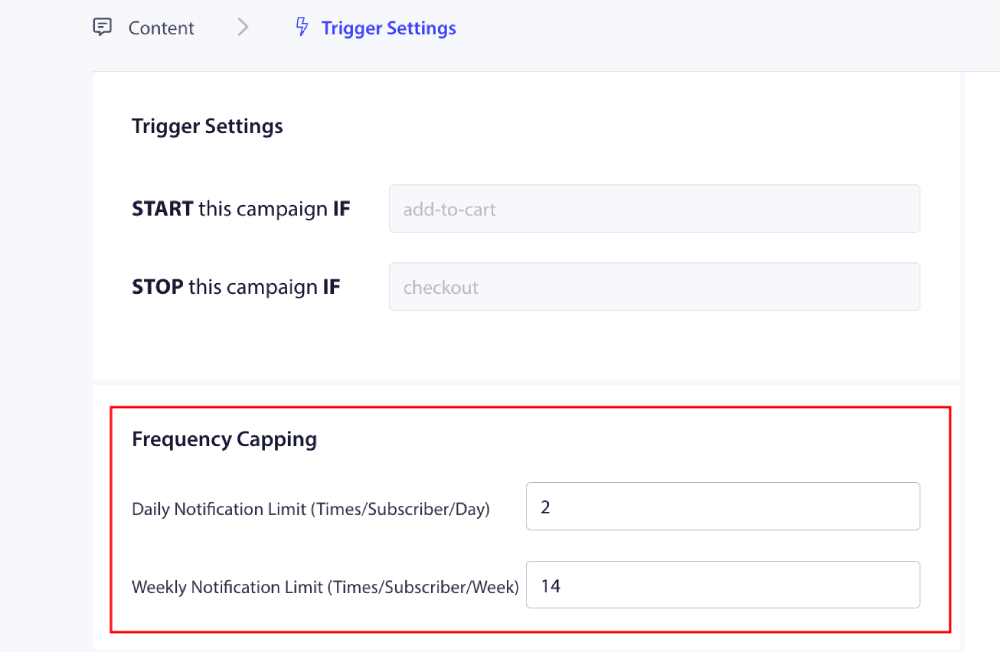
Set Frequency Capping
This is very important factor to avoid spamming users when they have added multiple notifications. You can navigate to Trigger Settings.
You can add a weekly and monthly notification cap. For example – If a daily limit is 2 then you can add 14 for weekly limit. This would mean this is capping for every subscriber/day.
Track Campaign Performance
You can use UTM parameters and goal tracking to monitor the performance of your campaigns. Apart from that we can also enable the goal tracking. Here is the guide that will help you enable goal tracking.
That’s it; you have enabled Shopify Automation Campaigns for your store with PushEngage.
If in case you run into any issues, please feel free to contact us by clicking here. Our support team would be able to help you.


