Notice: There is no legacy documentation available for this item, so you are seeing the current documentation.
Pushengage’s AI-powered optimization helps you craft better titles and messages, leading to increased engagement and campaign success.
This guide walks you through the process of creating campaigns either push broadcasts, drip autoresponders & trigger campaigns.
Creating Campaign Copy with AI
You can navigate to Campaigns » Push Broadcasts
Create a new campaign or choose any from the Templates. You can then click on Generate Text Button.
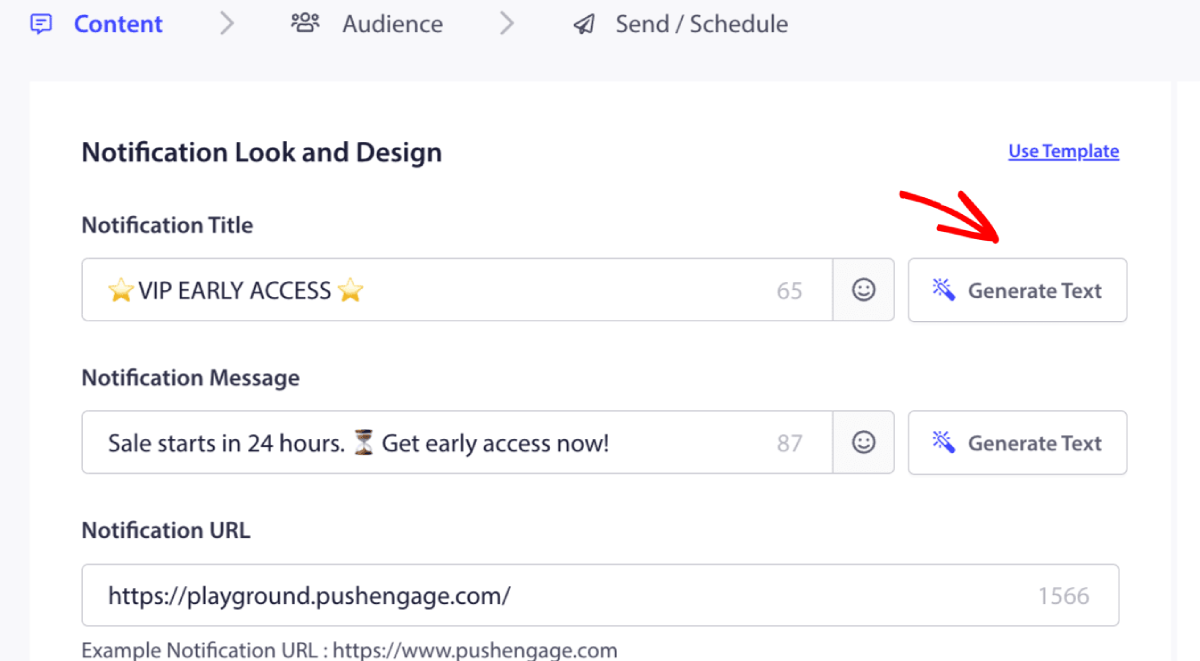
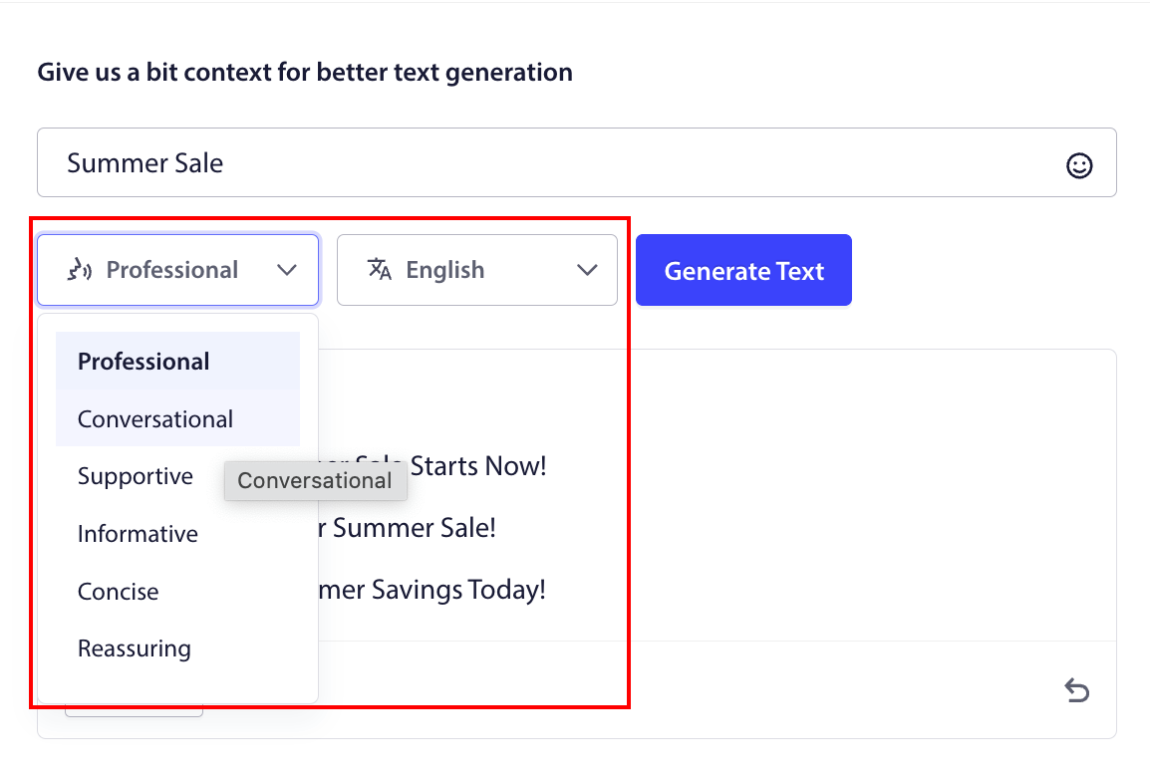
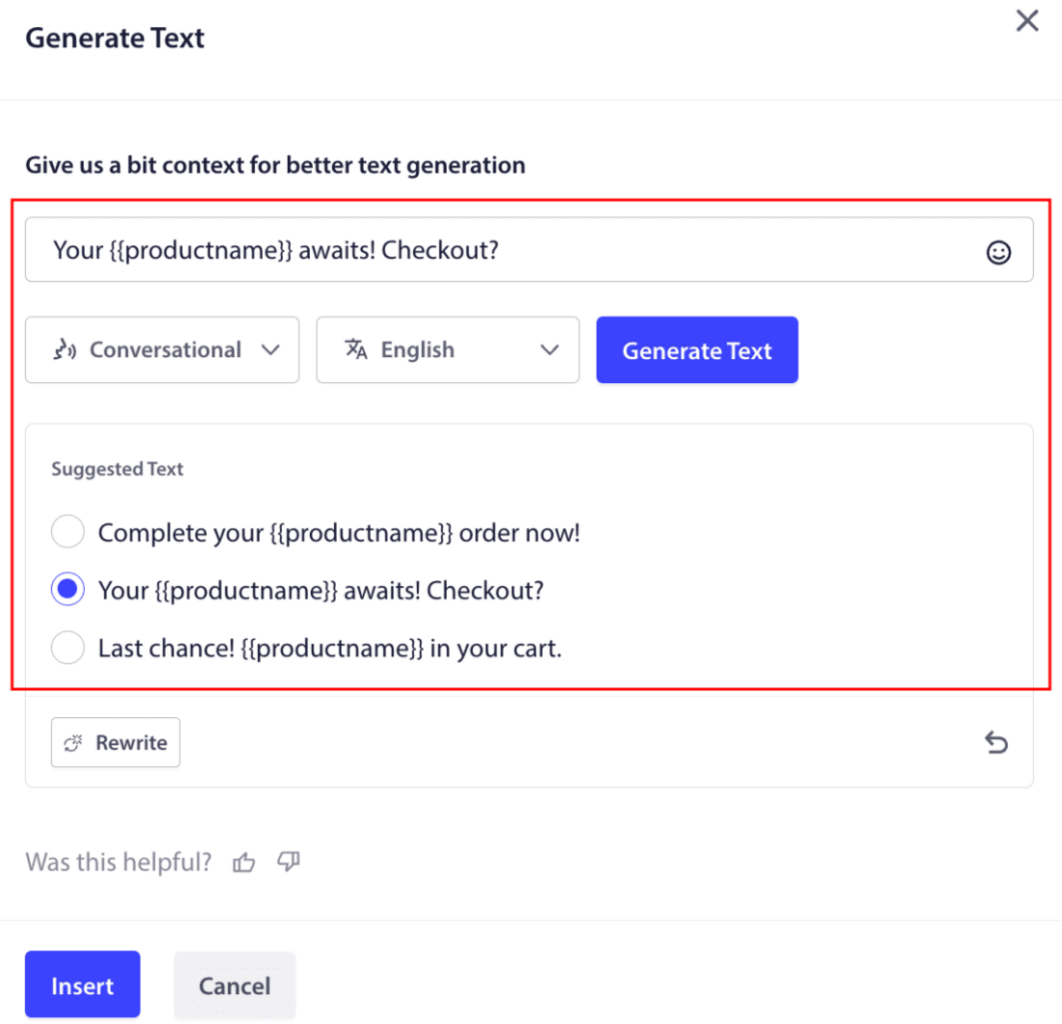
It will open up a small window for notification title & message. You can start by adding any keywords which will act as prompt for the AI.

You can also set the tone for the campaign title or message. The tone of conversation is very important to decide the type of campaign that will be created. Ensure it resonates your brand style. Once it is set, you can click on Generate button.
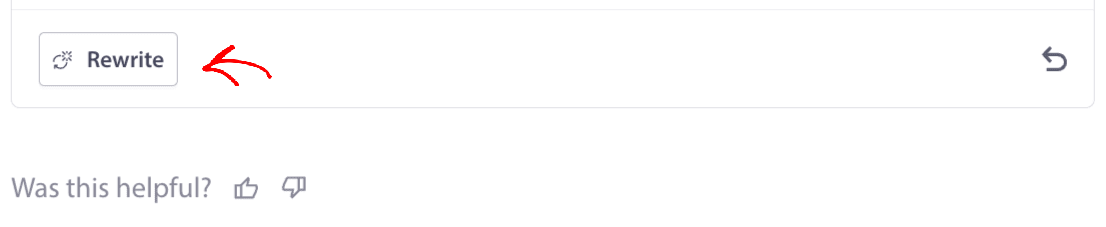
If you do not like generated text you can also use the Rewrite button in bottom.
Do ensure to give feedback to AI with the like or dislike button so it can be trained better in generating the title & message according to your style.
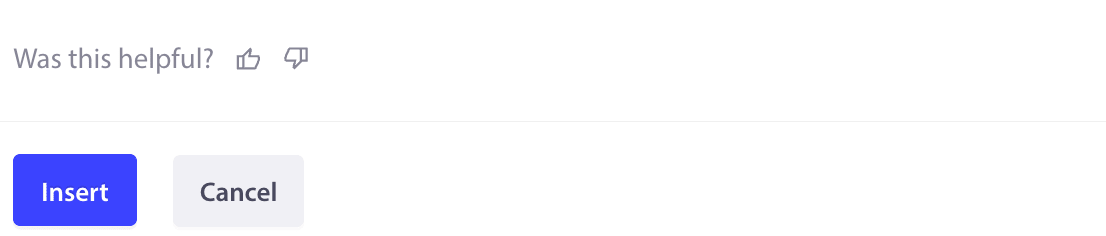
Once you have selected the title/message, you can click on Insert Button.
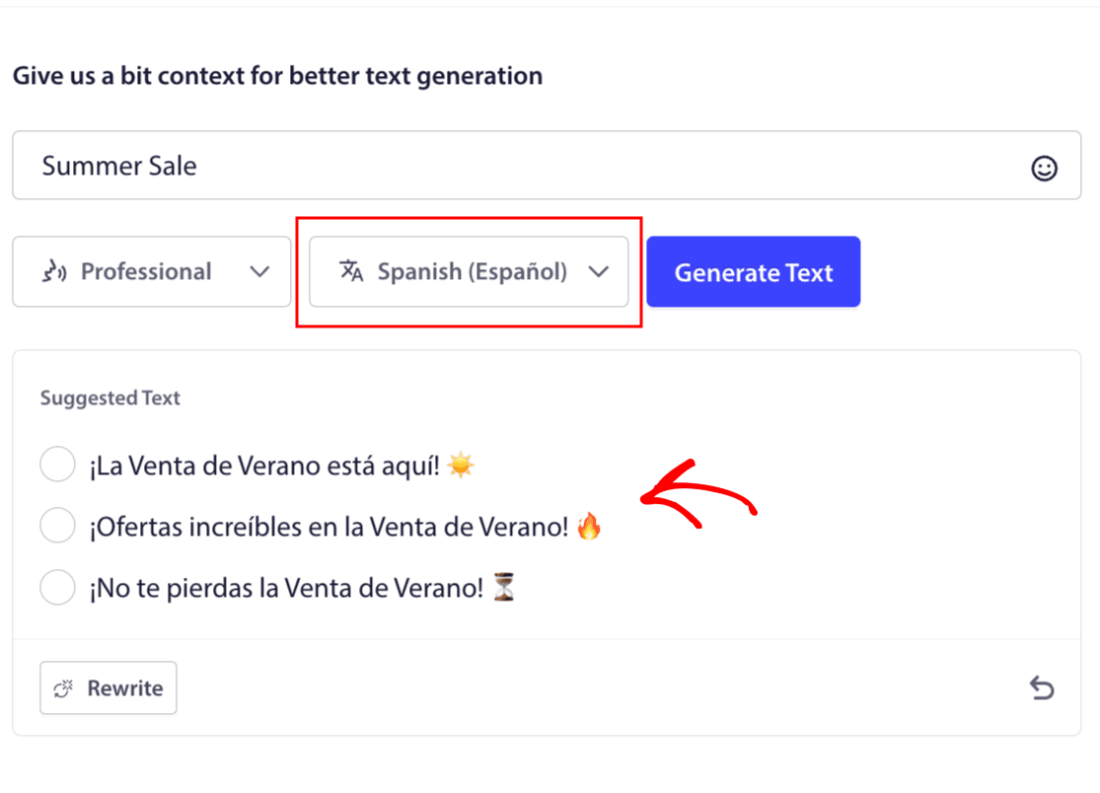
If you are willing to send out personalized content for each geolocation. You can simply switch the language from the dropdown and now you can also generate campaign copy in Spanish for example.
You can use AI to optimize any campaign styles in PushEngage. This is not limited to Push Broadcasts you can easily write the campaign copy with Drip & Trigger Campaigns where the dynamic variables are being used.
Once your campaign copy is finalized, you’re all set to schedule your campaigns or Drip messages more efficiently. If you are setting up campaigns for the first time, please refer to this guide for sending push broadcasts.
Purchasing the Credit
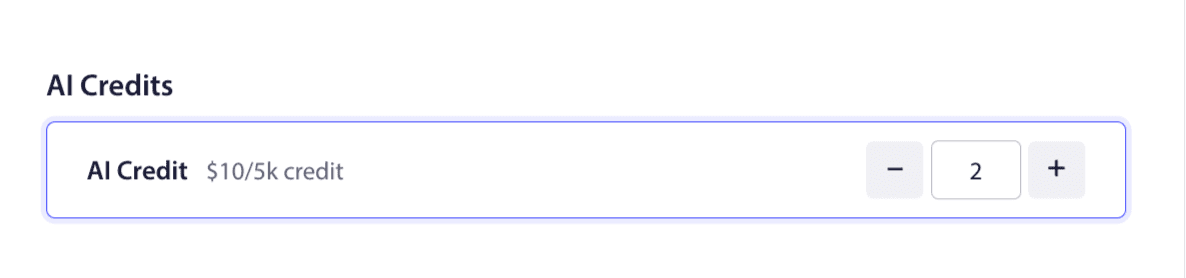
AI Credits are required to use the AI powered text generation in any paid Pushengage plan. You can easily purchase credits starting at $10 for 5000 credits.
You can navigate to Billing Page and Click on Purchase AI Credits
Please scroll down to AI Credits Section and then add the quantity you want to purchase.
Once this is done, you can proceed to Billing and complete the checkout. The AI Credits will be activated in your account. You can easily manage the usage and check for utilized credits on this page.
If you run into any issues, please contact us by clicking here. Our support team will be able to help you.


