Notice: There is no legacy documentation available for this item, so you are seeing the current documentation.
PushEngage makes it easy to have multiple sites under one account. You can manage multiple sites with separate analytics, subscribers & campaigns.
In this article, you’ll learn how to add or remove sites in your account.
Adding a Site
There are two ways of adding a site to your PushEngage account.
Firstly, the Quick way:
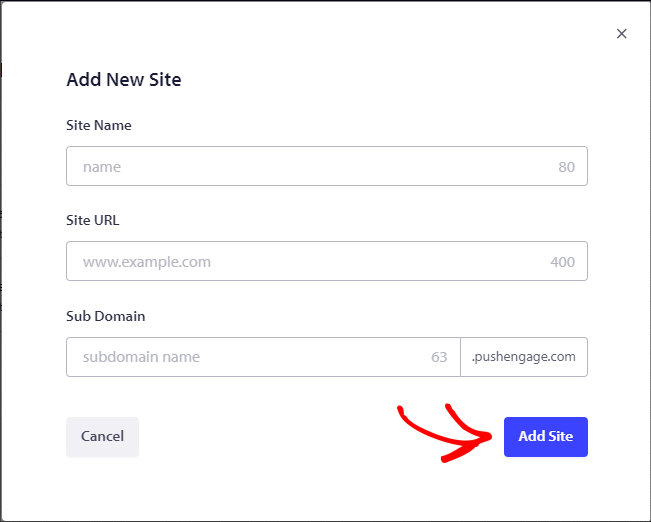
You can log in to your PushEngage account & navigate to the site name’s drop-down beside the Profile icon on the top right corner » Add New Site.

Enter all details to create a Site. The details in the text fields of the Site name, Site URL, Sub Domain & click on Add Site.
Sub Domain is used for internal purposes to enter your site name here. For example, if your website is https://www.yourdomain.com, your subdomain could be ‘yourdomain’.
The Second way :
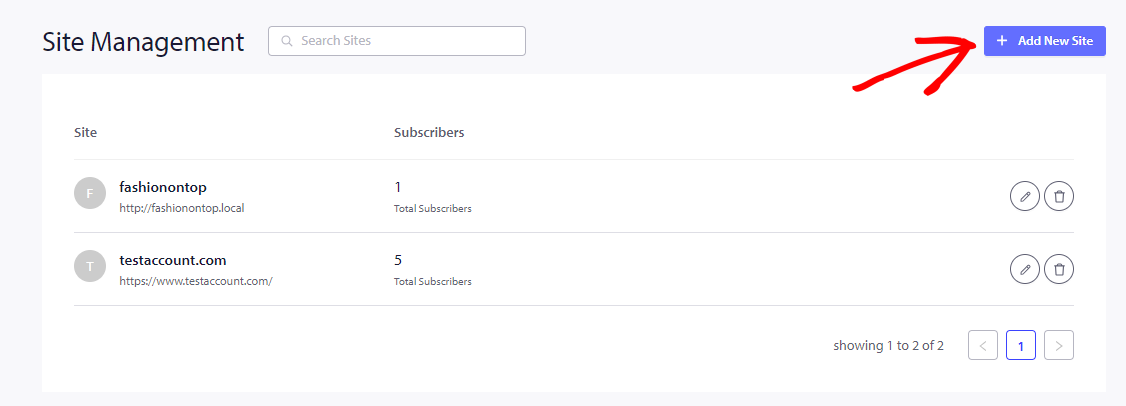
If you want to add or edit multiple sites, you can manage from the site management section.
Login to your PushEngage Dashboard & click on the Profile icon on the top right corner & click on Site Management.

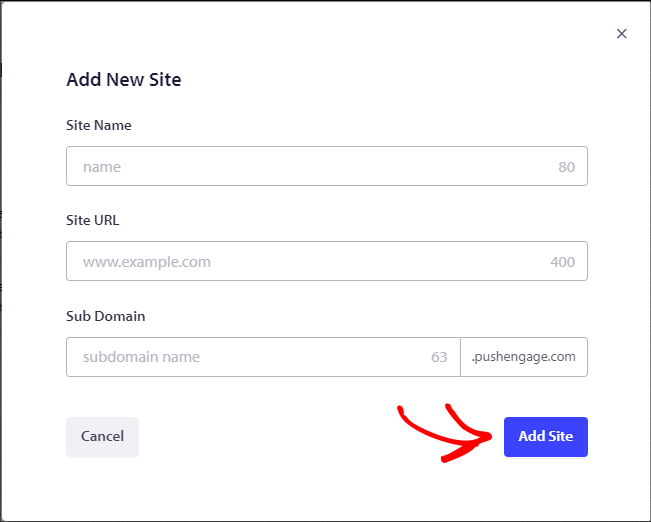
You can then click on the Add New Site tab to add the details for a new site. Please enter the details in the text fields of the Site name, Site URL, and sub-domain & click on Add Site.
Editing a Site
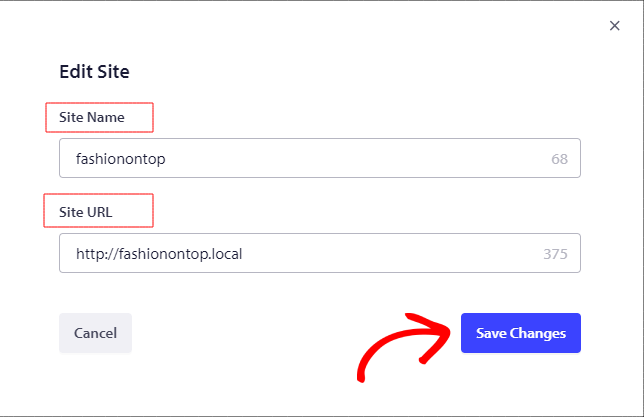
You can edit an existing site by clicking on the pen icon against the site. You can change the URL & name but not the subdomain.

Make the changes you need to & click on Save Changes.
Delete a Site
Similarly, you can also delete a site from the list of added sites by clicking on the Delete icon against the site to be deleted.
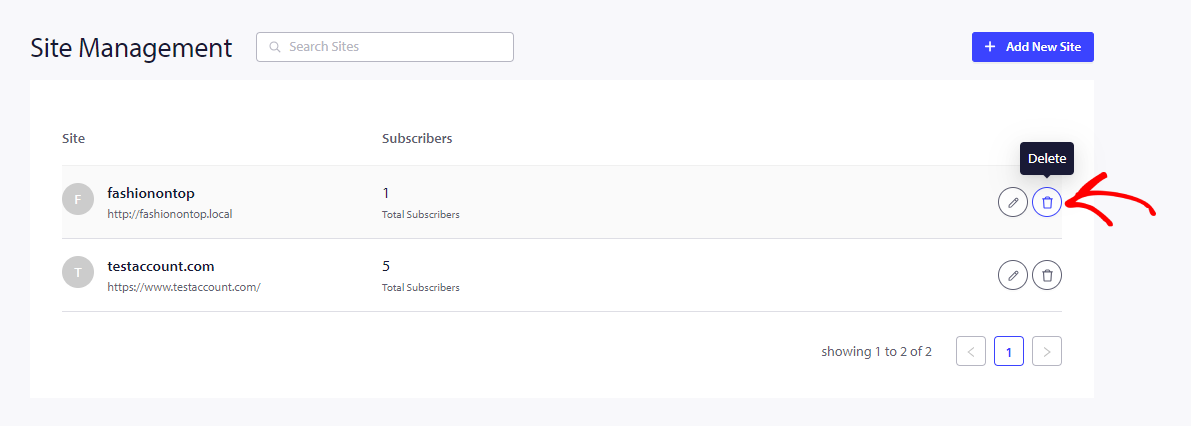
These steps will help you delete the site.
Note : Once you delete a site all the data, analytics and subscribers will get deleted. So please ensure you are only deleting sites that you do not need any longer.
If in case you run into any issues, please feel free to contact us by clicking here. Our support team would be able to help you