Notice: There is no legacy documentation available for this item, so you are seeing the current documentation.
Wix is an amazing platform to start your own website. Integrating Push Notifications on Wix Site is very simple and takes less than 10 minutes. In this article, we will show the exact steps to integrate push notifications on a Wix site.
Login to your PushEngage account, then navigate to Site Settings » Site Details and start to enter the site name, URL, and logo. Choose your website type as “HTTPS”.
You will see the PushEngage Javascript code. Copy the code and log in to your Wix site. You have to add this code to your Wix site to integrate PushEngage. Please navigate to Site Settings » Installation
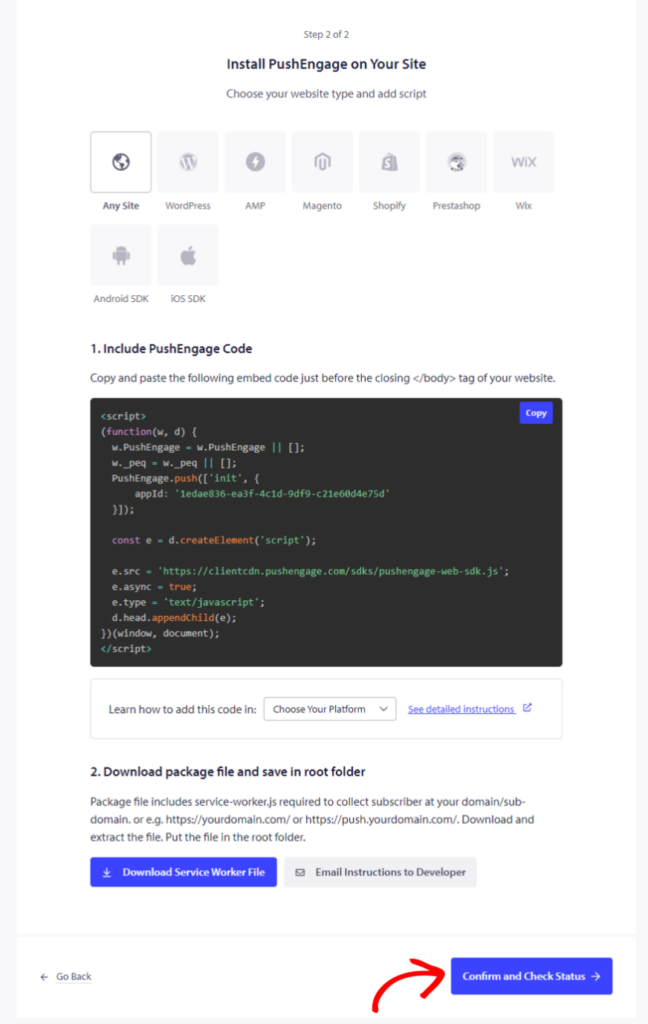
Once this is done, click on Confirm and Check Status and save the settings.
Integrating PushEngage to Your Wix Site
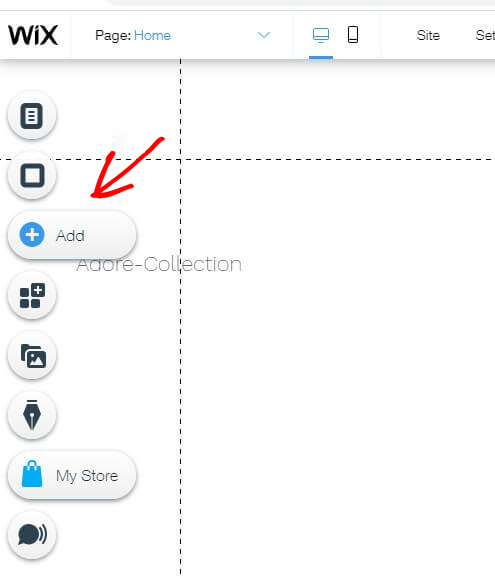
Log in to your Wix account. Select the Edit site. Click on Add.
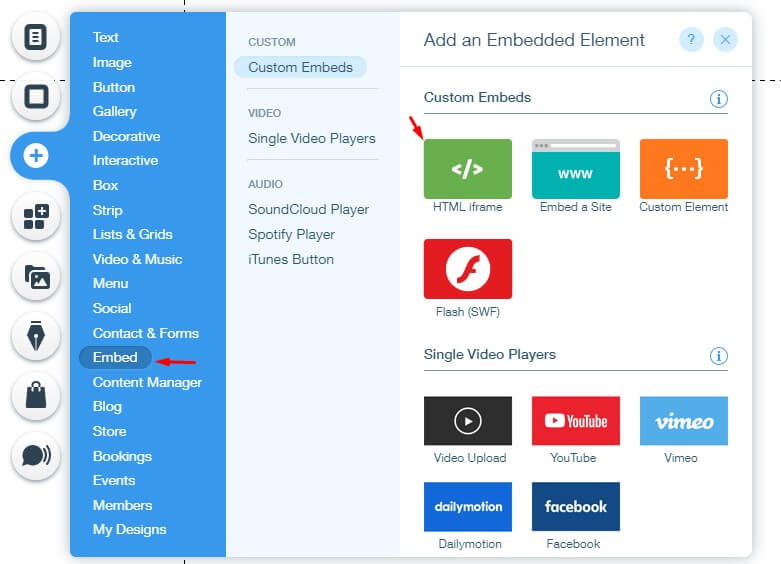
HTML iFrame/Embed: Select Embed » HTML Iframe from the list.
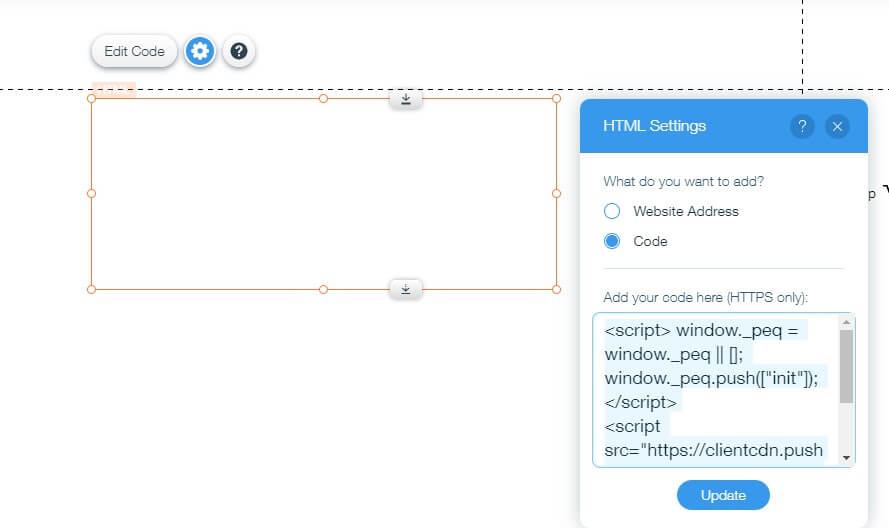
Integrating PushEngage Code: Copy/paste the JavaScript Redirect code into the box labeled HTML / embed code » Click Update.
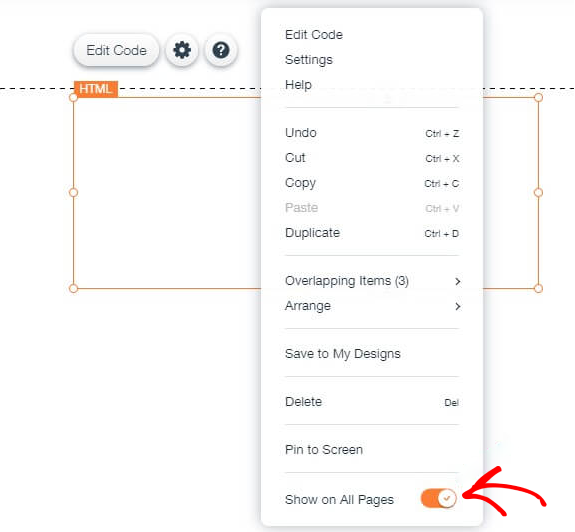
Right-click on the iframe. You will get an option of Shown to All Pages. Enable it and publish the page.
You will see an opt-in like this.
You can select any Dialog box type from Design » Popup Modals
That is it and you should be live with Web Push Notifications on your Wix site. You will see an opt-in like this.
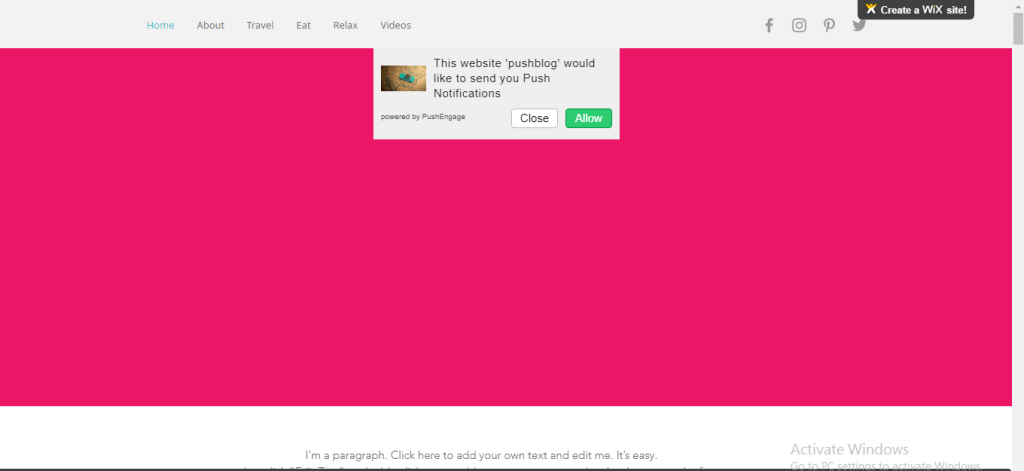
After installing push notifications on the Wix site, you can send custom notifications, segment your users, schedule notifications, receive notifications in the local language, and much more with PushEngage. You can also create campaigns and re-engage customers using web push.
If in case you run into any issues, please feel free to contact us by clicking here. Our support team would be able to help you.
