Powerful Push Notification A/B Split Testing
Stop wondering what will work. With A/B testing, you can make data-driven decisions to grow your business.
Grow Your Business with A/B Testing
A/B testing is one of the most powerful techniques you can use to get better results and grow your business.
With PushEngage, A/B testing can:
- Improve user engagement
- Boost your click-through rate
- Increase your sales and conversions
- Reduce your unsubscribe rate
Split Test Any Element
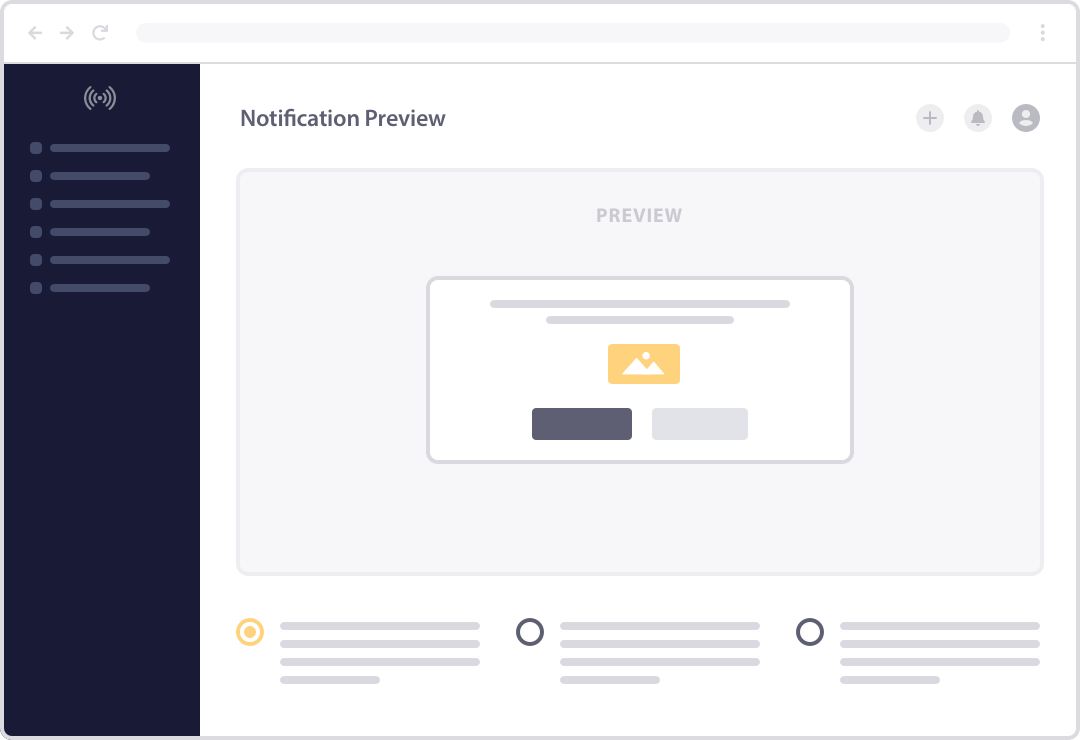
PushEngage makes easy to test any part of your notifications, or even test multiple variables at once.
With just a few clicks, you can test your:
- Title text or messaging
- Compare different images
- Large vs. small image
- CTA button text
- Landing page URL & more…
Actionable A/B Testing Analytics
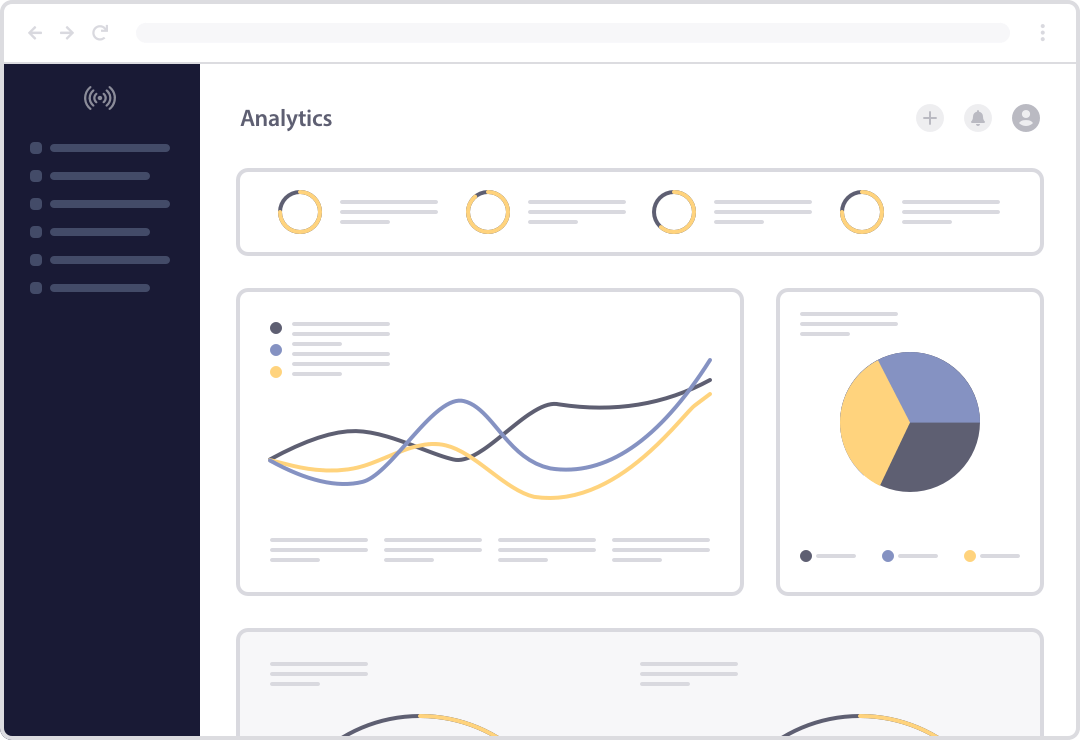
Whether you’re a beginner or a marketing pro, PushEngage analytics will help you easily analyze your results and find the winner of any A/B test.
You can track all your stats including views and clicks. Not only that, but PushEngage offers smart goal tracking so you can see which variation led to more sales and revenue.
Explore More Powerful Push Notification Features
PushEngage has all the features you need to create powerful push notifications to grow your business.
Frequently Asked Questions and Resources
Do you have a question about PushEngage? See the list below for our most frequently asked questions. If your question is not listed here, then please contact us.
PushEngage is perfect for business owners, bloggers, ecommerce site owners, and basically anyone who runs a website. If you want to get more returning visitors, make more sales, boost conversions, and reduce cart abandonment, then you need PushEngage.
PushEngage can be installed on nearly every website platform on the web. The only requirement is that you must have a website where you can add custom JavaScript in the body of your website’s pages.
PushEngage also offers the best WordPress push notification plugin on the market that seamlessly integrates PushEngage’s awesome features with your self-hosted WordPress site.
Not at all. You can easily set up PushEngage on your website without having to know any code. With PushEngage, it’s easy to design and send high-converting push notifications with a few clicks – no need to know any code. We’ve made it extremely user-friendly so anyone can create push notifications without a developer.
We know website speed and performance are more important than ever, so we’ve built PushEngage to be as lightweight and fast as possible. It will never slow down your website.
Yes, you can most definitely use PushEngage on your client websites. You can signup for our Enterprise Plan to use PushEngage on unlimited sites and get unlimited sub accounts. You’ll also get additional features such as Smart Cart Abandonment Campaigns, Automatic Inventory Alert, Price Drop Alert, Custom Triggered Campaigns, Personalized Smart Tags, and everything you need to deliver a top-notch experience for your clients.
Yes, we offer all-inclusive Enterprise plans that come with VIP support and onboarding. You can request a demo for more information.
Yes we do! Our free WordPress plugin gives you the option to automatically send push notifications when you publish a new post.
Absolutely. PushEngage works on any website platform. All you need to do is add a code snippet to your site.
We also have a PushEngage Shopify app so you can easily set up push notifications on your Shopify store.
Yes, absolutely! We can help you migrate from any other provider. Please contact us for more details, or get started by booking a demo today.
Please send us your questions through the contact page, or email us at [email protected].
A/B Testing for WordPress Push Notifications
A/B test your push notifications to see what your audience truly resonates with. With A/B testing, you can boost your CTR (click-through rates) on your campaigns and drive more traffic to your website.
You can test different notification formats and copy against each other. You can also set a hypothesis or choose unique goals for each variation and see how they perform. PushEngage split-testing sends out each variation to 50% of the audience to test push notifications for optimal conversions.
The PushEngage analytics dashboard gives you powerful insights to increase your website’s engagement and traffic using reliable, real-time data.
What Is A/B Testing for Push Notifications?
A/B testing for push notifications enables you to see how your audience reacts to different versions of the same notification. The idea is simple. You create 2 variants of the same notification with one or more variables to test, such as title, description, image, or so on.
Then, you send notification A to 50% of your test audience and notification B to the other 50% to see which one gets more clicks, traffic, and conversions.
So, why is testing notifications a good practice?
Once you know which version works better, it’s easy to understand why it worked better because you only made a single, specific change. And then you can double down on what works best to get more clicks and more traffic!
A/B Testing Examples for Push Notifications
Now that you understand what A/B testing is, let’s see a few examples. So, what exactly can you test push notifications against?
Notification content
You can A/B test two aspects of notification content:
- Notification Title: This is the same as testing two versions of your blog post’s titles to see which one gets more clicks. You can have two different titles for your notification without changing the actual headline of your article.
- Notification Message: This is somewhat similar to changing your page description to see which one is more attractive. An interesting example is to use the same copy in two different languages to see which one your audience responds to more enthusiastically.
Landing page URL
The URL is quite possibly the most overlooked part of the entire notification. But in reality, your subscribers will be able to see the URL that the notification leads to. Now, there are two things to keep in mind here:
- Use descriptive URLs that make sense. Most people confuse the “keyword in the URL” tip to be an SEO exercise. In practice, it just offers a better user experience that leads to more clicks. So, we highly recommend using “SEO-friendly” URLs for your push notifications. Just in case the notification isn’t getting clicks, you can try using a different URL for the landing page.
- Use your own domain and branding. You can use PushEngage subdomain to collect and send push notifications if your site doesn’t have HTTPS. But for the best results, we recommend you install an SSL certificate on your site and use your own brand name and domain for sending notifications.
Notification Images
Images are heavily responsible for enticing your audience to engage with your notifications. We highly recommend A/B test your push notification images as well. There are two types of images in a push notification. To clarify, you can split test both images.
- Notification icon: A notification icon is the equivalent of the site icon or favicon on your website. The only difference is, it’s actually a good idea to test different notification icons because it doesn’t necessarily have to be your favicon.
- Large image: The large image on a push notification is like the featured image of a blog post. The large image shows up as part of your notifications. So, we recommend split testing the image like you would split test the design of any digital advertisement.
Multi-Action Button
PushEngage notifications are all clickable. But just in case you want the option, we also offer different Call To Action (CTA) buttons:
- Grab Now
- Last Chance
- Click Now
- Check Offer
You can A/B test which of these CTAs are most effective.
Interaction Types
Interaction split testing is pretty advanced and we don’t recommend changing the default settings unless you know what you’re doing. Interaction testing compares two notifications with different expiry times.
Set the first version to expire in 20 seconds and the other one to stay on until the subscriber clicks on it or removes it.
Unless you have a highly engaged audience, we don’t recommend using the second option as it can really annoy subscribers who aren’t expecting to hear from you.
How to A/B Test Push Notifications
We talked a lot about the pros, cons, and hypotheticals of A/B testing push notifications. Let’s show you how you can actually do it using PushEngage now:
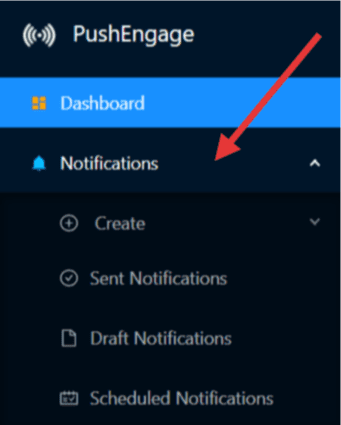
Step #1: Go to Notifications in the Dashboard:
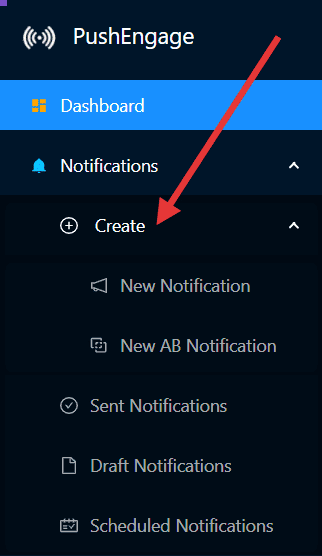
Step #2: Click on the Create:
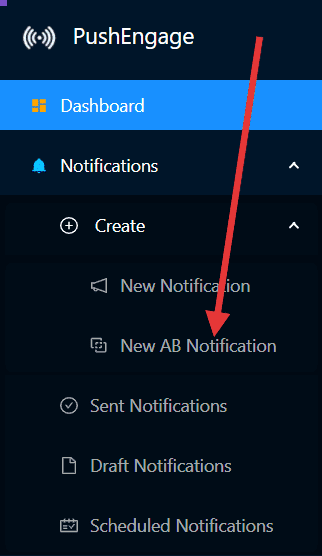
Step #3: Click New AB Notification
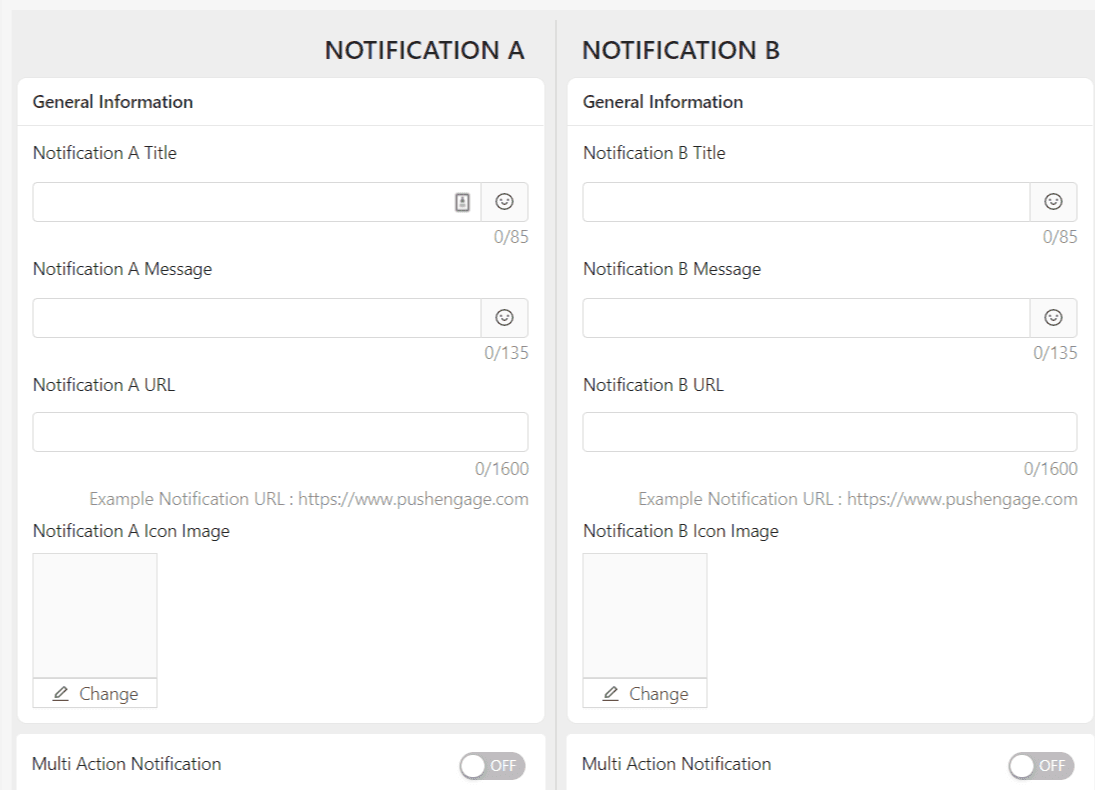
Step #4: Setup the notifications
Note: We recommend testing out individual notifications before you put them on an autoresponder. Trying to A/B test notifications in an existing drip autoresponder is a bad idea as it can break the continuity of the messages.
Grow Your Business Faster with A/B Testing
Increase the value of every web visit with Push Notifications that are hard to miss.
- Forever Free Plan
- Easy Setup
- 5 Star Support
