Push notifications with images get way more engagement.
It’s as simple as that. The real question right now is…
How do you send push notifications with images? It’s actually really easy. And that’s what this article is all about.
Every push notification has two types of images:
- The site image
- The large image
The site image is typically your brand mark. It helps your subscribers recognize your brand when they receive your push notifications. The large image, on the other hand, is meant to make your notifications more “click-worthy”.
In this article, we’ll show you how to add both types of images to your push notifications. We’re going to do it using PushEngage in this article. PushEngage is the #1 push notification software in the market. But it’s more or less the same for any vendor you use.
Let’s dive in.
How to Add A Large Image to Your Push Notifications
As we said, the large image is meant to improve the overall quality of your push notification.
So, let’s take a look at how to add a large image to your push notifications.
Head over to PushEngage and hit the Get Started button:
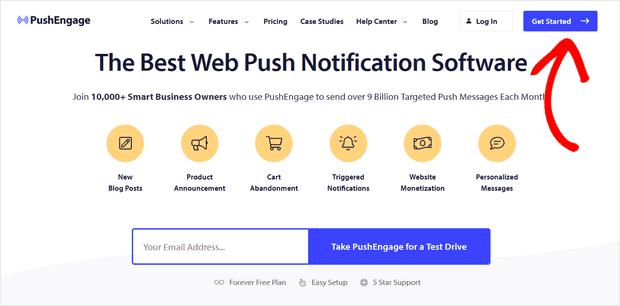
And select a plan. You can get started for free, or you can sign up for a paid plan to unlock even more powerful features and push notification campaigns. If you need help with this, you should check out this article on how to install WordPress push notifications.
Then, head over to Campaigns » Push Broadcasts » New Push Broadcast:

Under Content, add your push notification content:
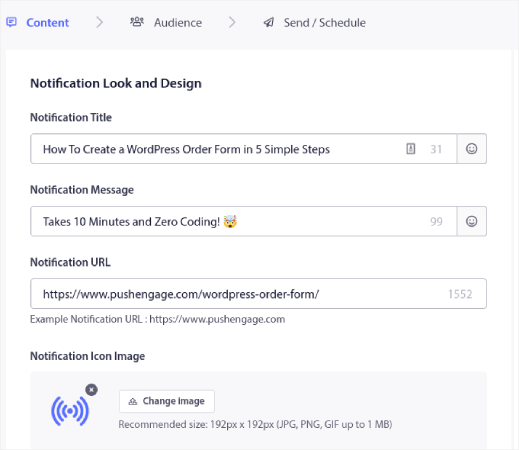
Then, you need to scroll down to Show Large Image and enable it to upload an image:
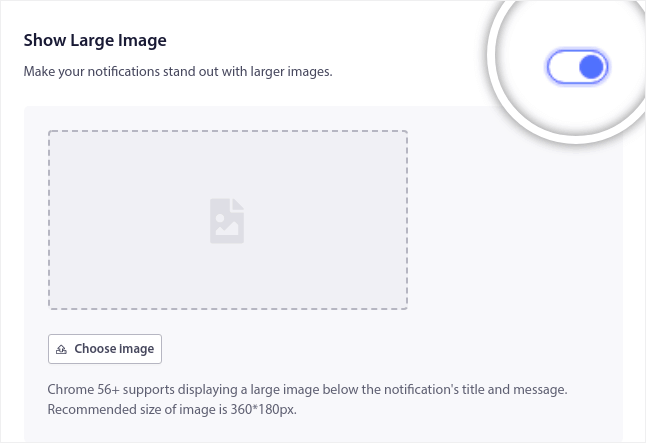
Click the Choose Image button to upload your image. That’s really all. After that, you simply add whatever image you want to add as long as it’s either in PNG or JPEG format.
You can do it for…
Shopping discounts and contests;

Recipes, ebooks, and downloadable goodies;

And even for your blog posts and newsletter opt-in notifications:

Pro-Tip: Use images that are 360 px wide and 180 px high. That’s the best resolution for your push notifications. You can upload bigger images with the same aspect ratio, but it may cause some distortions when it’s sent out via different browsers.
How to Add A Site Image to Your Push Notifications
Go to the PushEngage dashboard and go to Settings » Site Settings » Installation Settings:
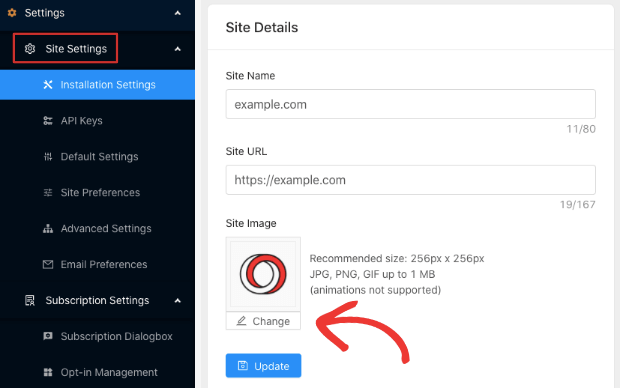
And this is where you can change your site image. Use a high-resolution version of your website favicon.
Like this:
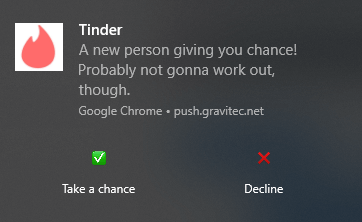
But you can do something entirely different and customize it for a specific notification:
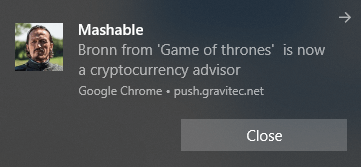
If you want to be fancy, you can upload an animated logo as long as it’s in a GIF format.
And that’s really it. You can customize your push notification branding right from the PushEngage dashboard.
What to do After You Send Push Notifications With Images
That’s all for this one, folks!
Push notifications with rich media are known as rich notifications. Images aren’t the only type of rich media you can use in your image. There are some small differences between the types of rich media you can use for app push and web push notifications.
But the overall aim is to get more engagement and clicks from each notification.
You can use rich media for any type of push notification campaign. So, check out these amazing articles on how to create automated push notifications:
- Price drop alert
- Cart abandonment push notifications
- Browse abandonment push notifications
- Website welcome messages
- Back-in-stock alert
And if you’re just starting out with push notifications, you should try using PushEngage. PushEngage is your one-stop solution for push notification campaigns. So, if you haven’t already, get started with PushEngage today!
